
It’s Time to Start Cooking with the Sun!
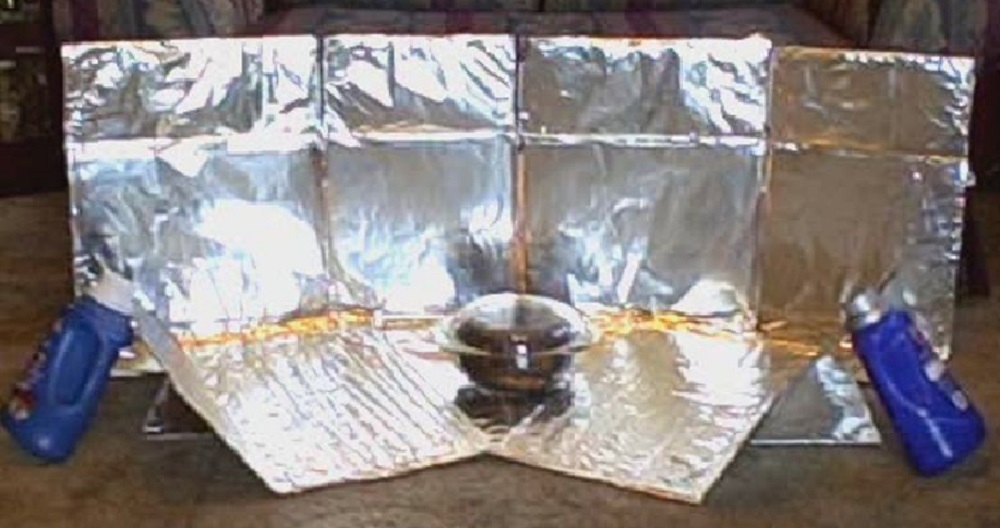
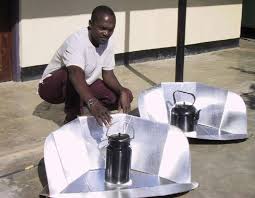
Solar Cookers have made a splash all over the world in the last 30 years. In many countries of Africa, there are villages that have little in the way of firewood for cooking, Sun Cookers International is a non-profit group that raises money to bring portable “sun ovens” made from foil covered cardboard or flexible plastic reflectors with oven roasting bags to these areas. A pot of rice and beans placed into this arrangement will cook food for the family without the women having to spend hours searching for a few small sticks of firewood or dried dung.
 There is a small village just outside Mexico City where the women’s association has built a large solar oven. Panadaria Solaria is the name of their bakery, which supplies most of the village’s bread.
A simple solar oven is made from lining a shoebox with aluminum. Paint the outside of a quart canning jar Black. You can put hotdogs or water or anything that needs warmed inside the jar. Place the jar inside the box and tilt it towards the sun. On a sunny day it should only take 15 to 20 minutes for it to be ready. This is also an easy way to distill water. The temperature barely gets above boiling, but that is all you need for many foods.
A great solar oven during the summer is the dashboard of your car. Park it in full sun and leave your pot of chili, pizza, or other things that only need warming sitting there with the windows closed.
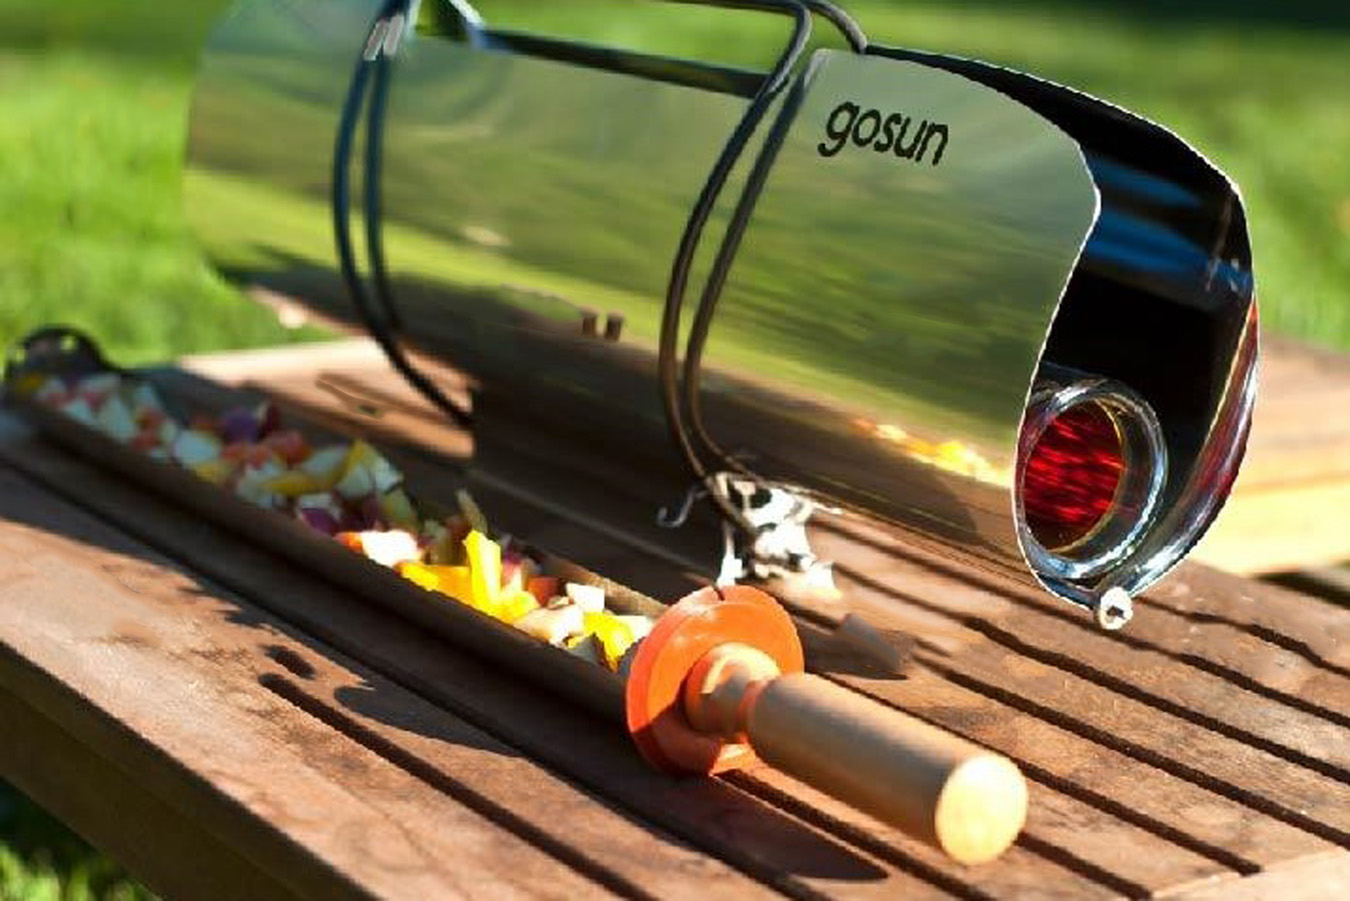
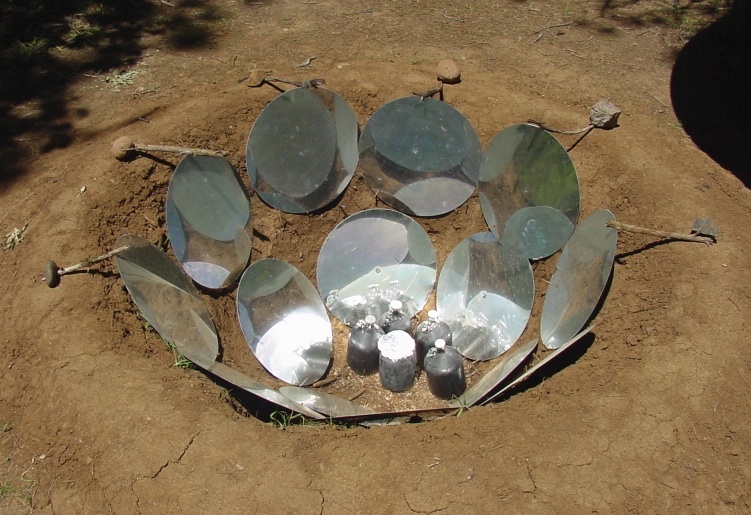
There are many plans for building oven sized solar cookers from cardboard or wood, and there are several kinds of solar cookers that are considered to be serious appliances. Parabolic cookers look like an upside down open silver umbrella with a small platform at the end of the handle – these can get up to frying temperatures, but tend to be unstable.
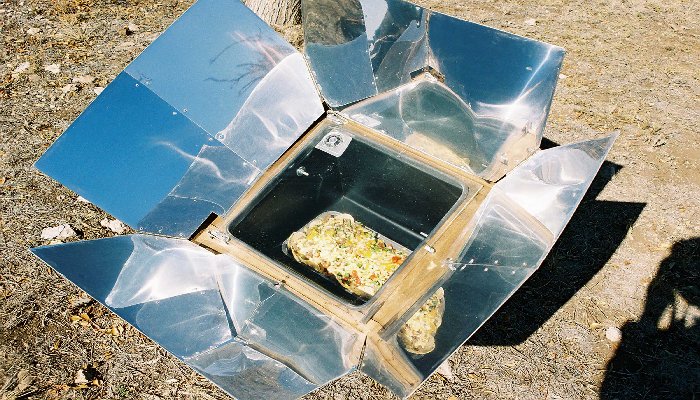
 Although I’ve used a variety of solar ovens my favorite is the All-American Sun Oven from Sunovens International located northwest of Chicago. It has petal-like reflectors and tempered glass doors. Depending on sun angles it can get up to 400 degees F, so it can bake bread, roast, steam or cook just about anything. I’ve used mine to cook a holiday turkey when there was snow on the ground. Best of all, after cooking it folds up to a 23 pound box with a handle for easy transportation.
There are several advantages in using a solar cooker to create a hot meal – especially in the summer. Obviously since it only takes sunlight to create heat the activity will generate no utility bill. As it is used outdoors you do not add heat to the house, which your air conditioner would be forced to counter.s oven can reach 425 degrees in summer, and even in winter will cook the evening meal – as long as there is sun! The beauty of it is that it folds up quickly, weighs only 21 pounds and is easily transportable. It can be used for camping when the forest service won’t even allow camp stoves. It contains a temperature gauge and a suspended platform that keeps food upright even when the box is tilted to gather maximum sunlight.
Subtle and important differences exist between a solar oven and the electric or gas ovens we find in most kitchens. One involves the temperature fluctuation during cooking. This is especially important at lower temps (<300F). The temperature fluctuation in a standard oven is dictated by the thermostat deadband which is normally 40F. That is a big swing from high to low end. (280F to 320 F when oven is set at 300F).
 Most solar ovens are insulated and can maintain a more constant level even if there is light cloud cover. For instance, breads, eggs, and deserts may require that you adjust the oven’s position once every 15 minutes, while casseroles, roasts and soups may need adjusting just once an hour. I am frequently asked how one regulates the temperature in a solar oven. It’s simple, you either make sure it is facing the sun directly, or turn it a little away!
Another difference is the source of heat. A standard oven generates heat at the bottom of the oven. The heat from the sun in a solar box cooker fully surrounds the food, which is why you do not end up with food that is burned on the bottom. Convection ovens dry food out as they cook. The solar ovens lids trap the moisture for more tender foods. The disadvantages of a solar oven are that it takes 30% more time to cook a meal and is weather dependent. The upside is that slow cooking enhances the flavors.
 I will mention that if you are the type of cook that requires exact measurement of ingredients, temperatures and time – then don’t even consider a solar oven – it will drive you insane. Solar cooks can produce fantastic foods, using a basic recipe and good instincts.
There is also the fact that it’s just plain fun and the food tastes wonderful. I bake chocolate chip cookies in mine, soup, casseroles and pizza, or just about anything else I want, including eggs and breads. Don’t worry about time. If you can’t get the oven up to 400 degrees, you can still bake biscuits and cookies at 300 degrees – it just takes a little longer.
You can also treat it like a crockpot. Take something frozen and put it in a casserole dish. Set the dish into the solar oven before leaving for work in the morning and point the oven towards where the sun will be at around 1 pm. When you come home from work a couple of hours later the casserole is thawed, cooked, warm and tasty!
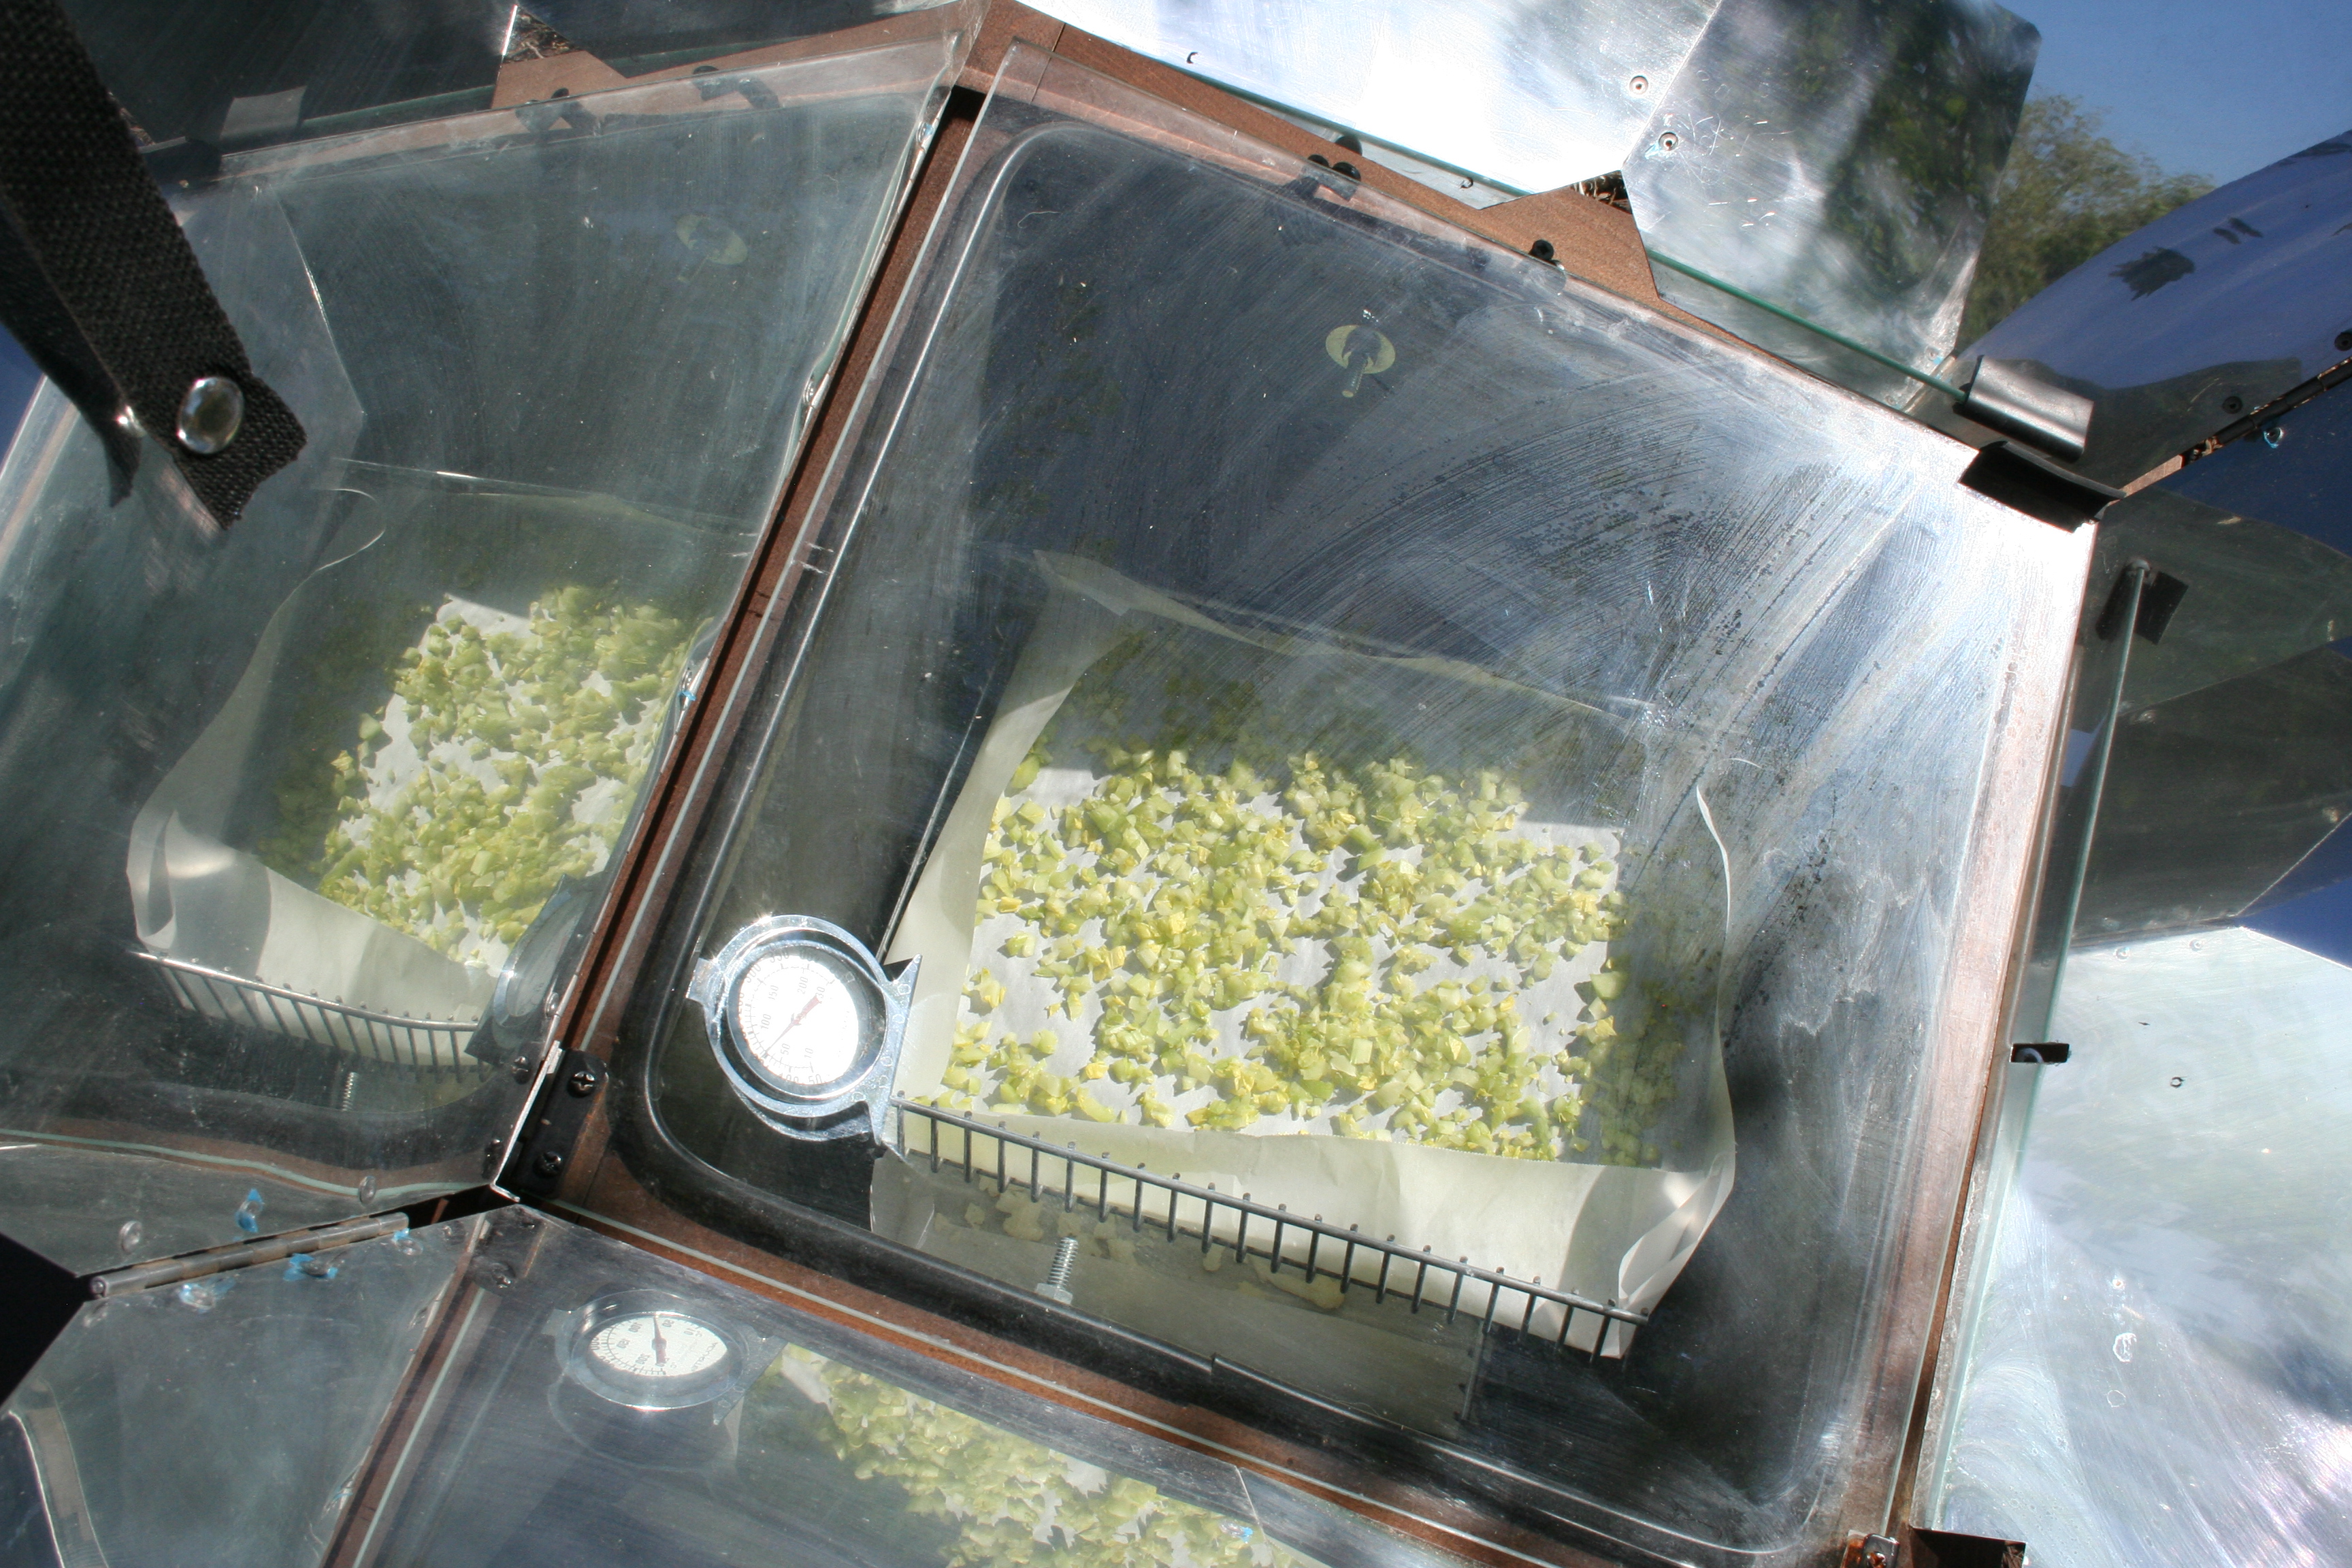
 Solar box cookers can also be used as food dehydrators – though for that you will want to set them in a slightly shaded area, keeping the temperature between 120 and 140 degrees. I also place a toothpick under the glass lid to allow moisture to escape.
Solar Cooking requires you to become conscious of your daily environment in a new way. You need to understand where the sun is at any given time of the day, winter or summer. In determining a place to put the oven, be conscious of any trees or buildings surrounding the area that could cast a shadow as the sun moves through the day.
Over time you will acquire a feeling for when the cloud cover is simply too dense to cook in. Just remember, the more clouds-the slower the cook time. A thin cloud cover or scattered cumulous may not affect the soups and all day dishes very much, but the breads, eggs, and desserts frequently require hotter temperatures.
One thing that I have noticed is that clear skies at or near sea level is a very different thing from clear skies in the higher altitudes of New Mexico, Colorado and Arizona. That extra 5000 feet of atmosphere can diminish the ovens temperature somewhat, though the people in Wisconsin will tell you that they can still make some great solar foods!
For more information on the art of Solar Cooking, consider purchasing Rose’s book, “The Solar Chef” which in addition to over 100 recipes gives readers basic solar cooking instructions, advice on cooking implements, and meteorological information.
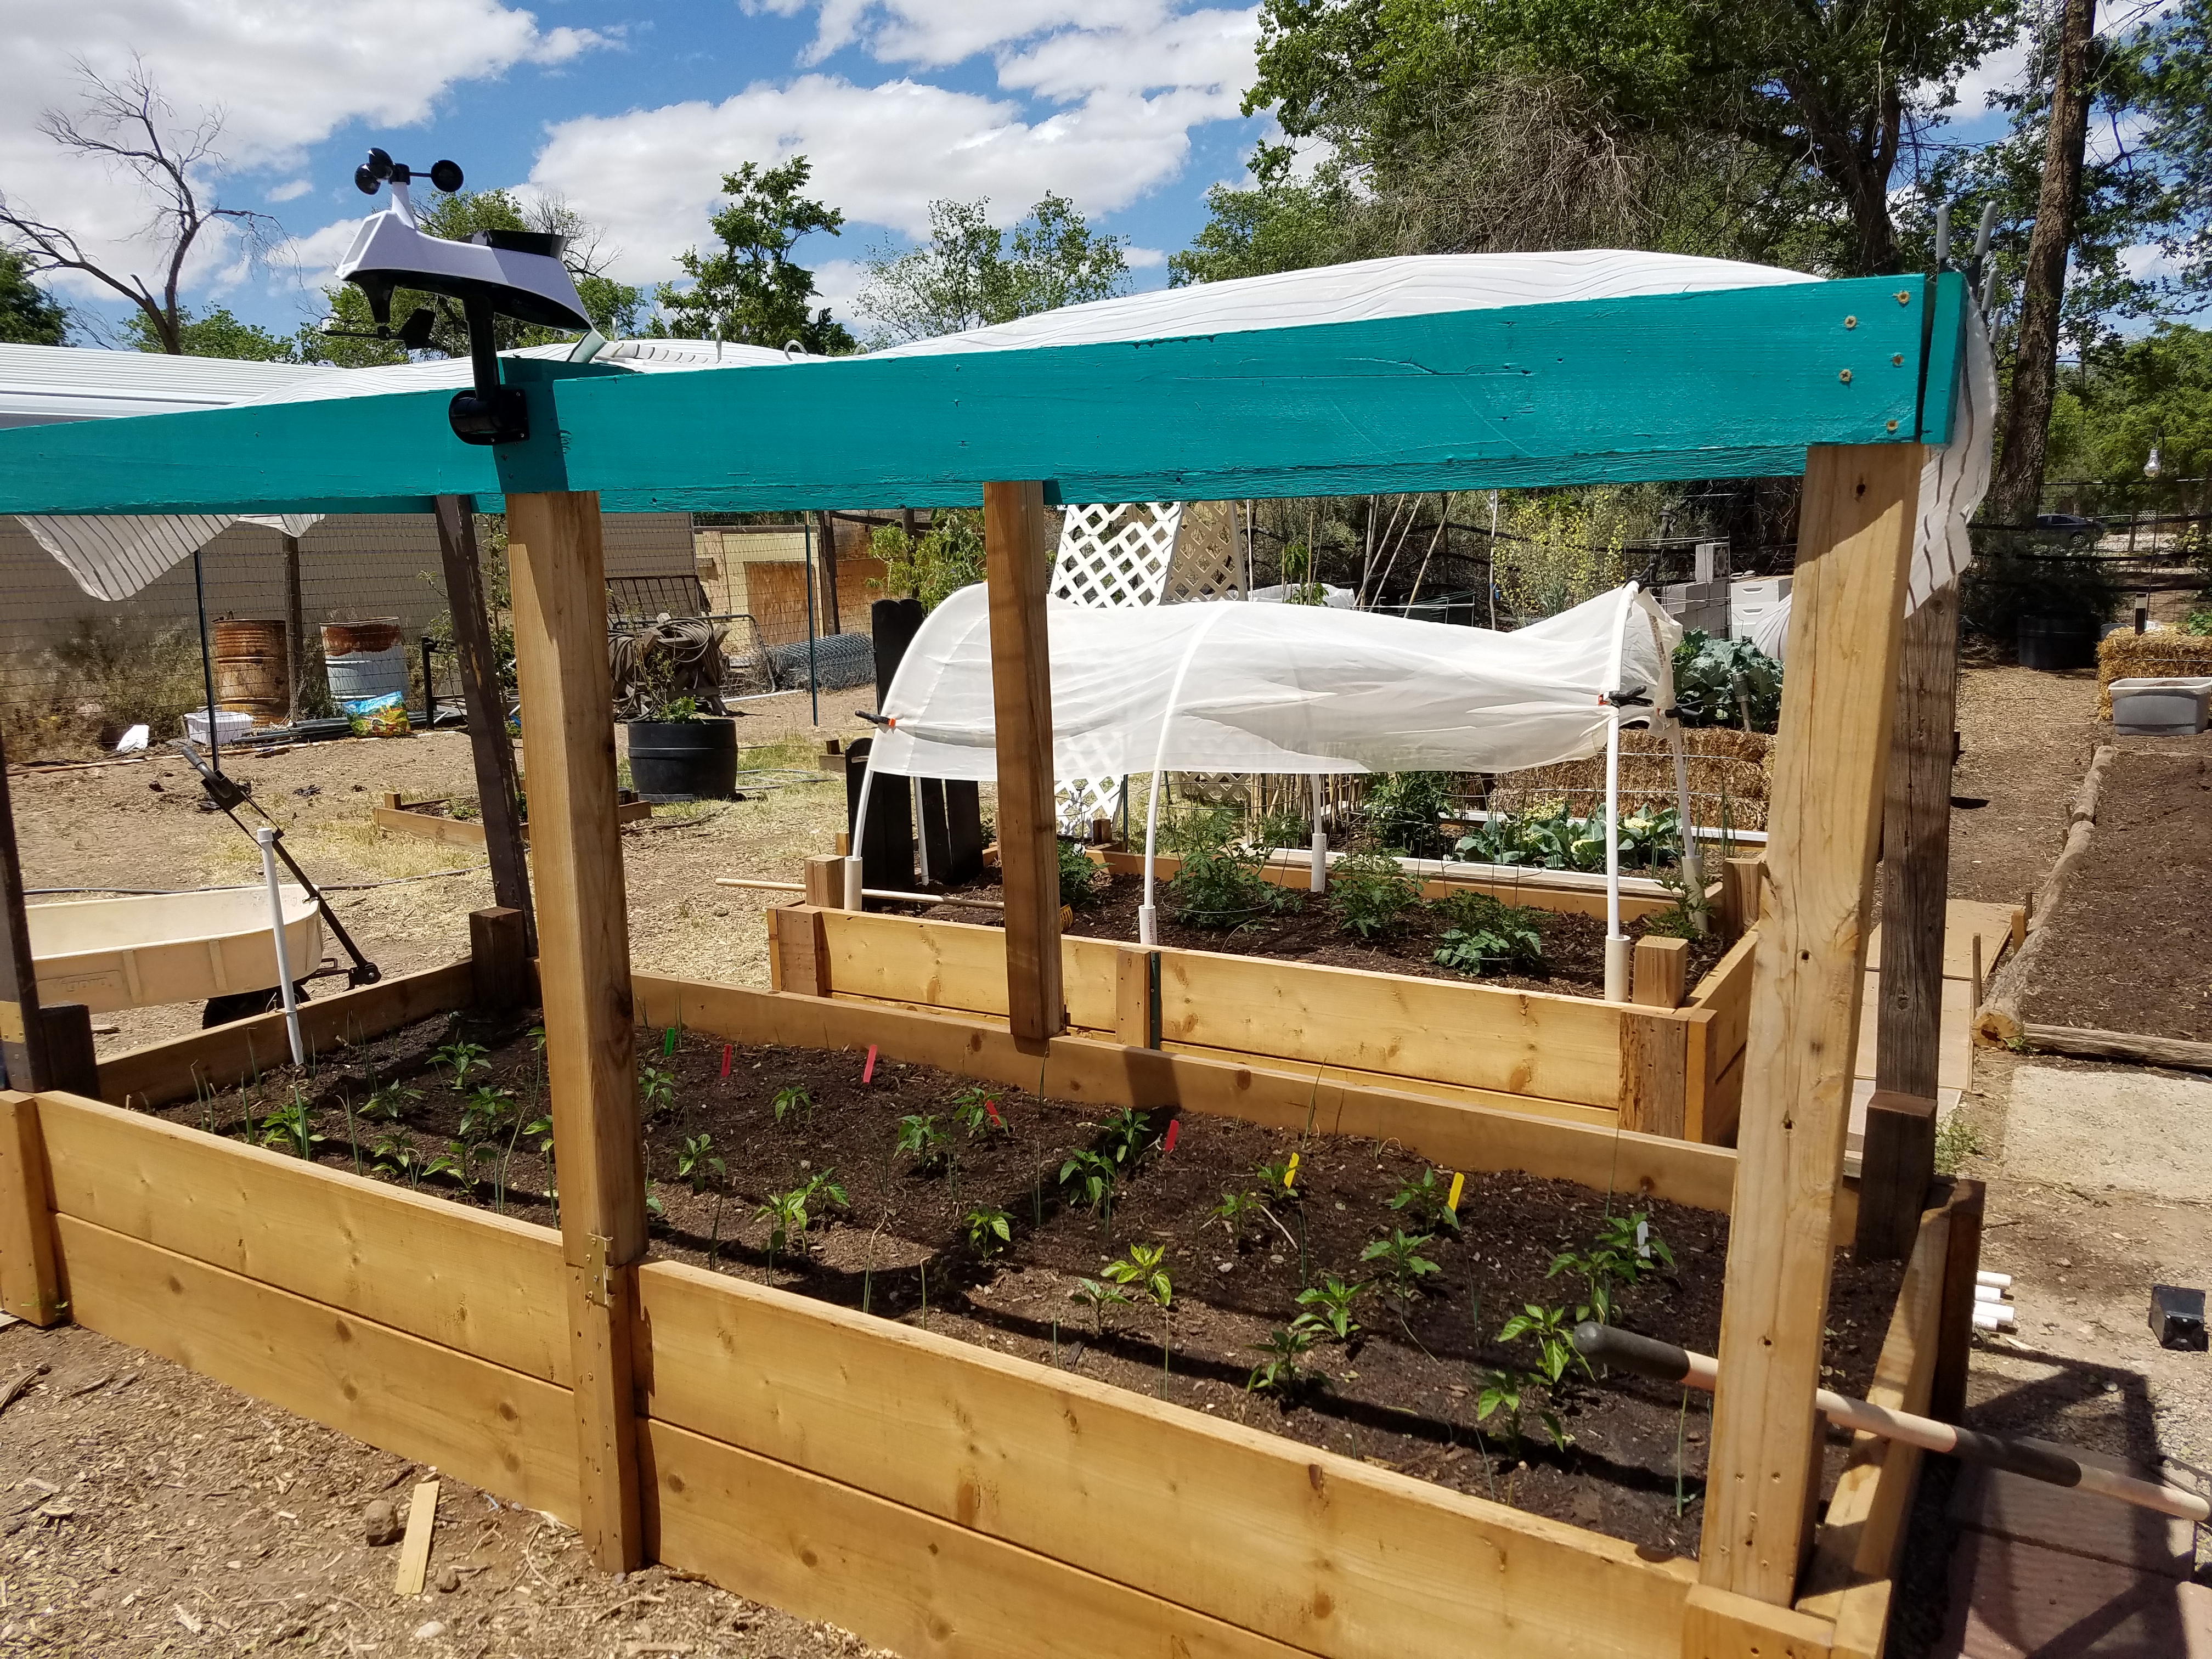
 Square tomato cages offer supports for wrapping cloth around. Wrap just the west side if you want to offer the plants protection only during the latter half of the day. Which brings us to another option. If you set plants on the east side of a wall or building they will get full sun for half the day and are protected from the blistering heat of the afternoon. Trees placed on the west side of a yard stretch afternoon shadows over yards and gardens. You can tell if they are getting too much sunlight as you will see pale white patches of sun scald on the leaves.
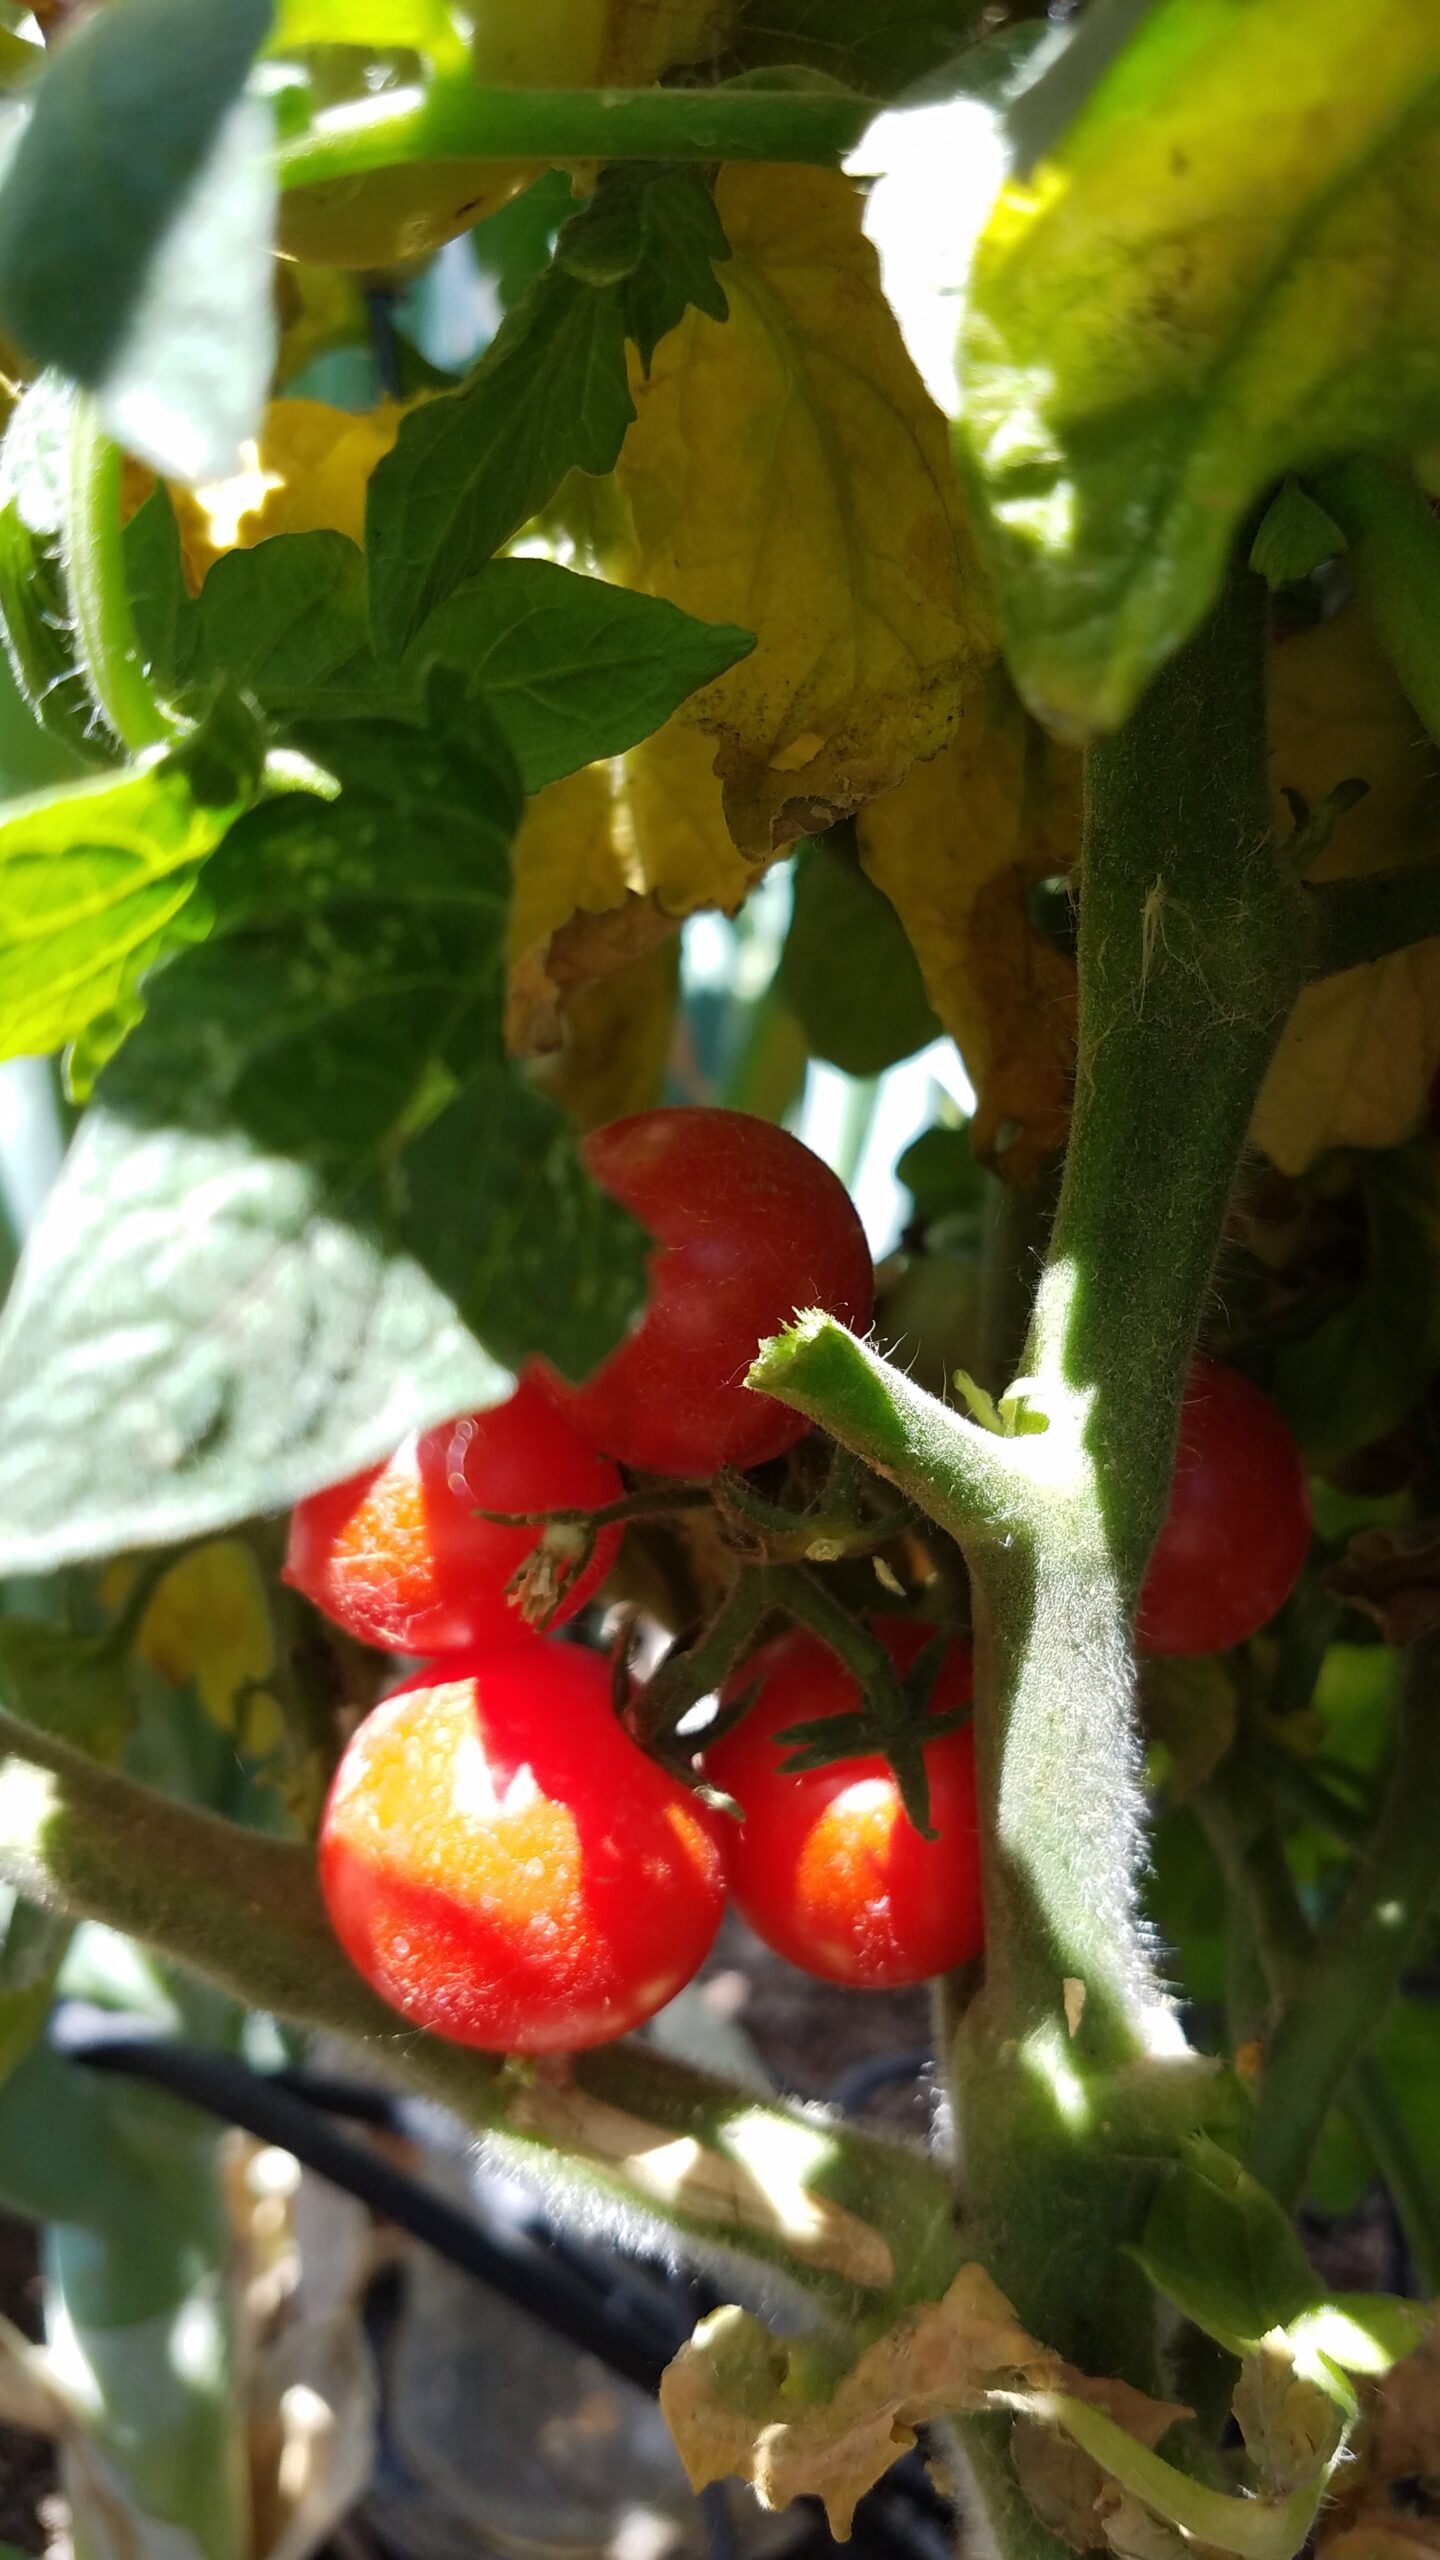 Another important aspect of desert gardening is the watering plan. Below 90°F I will water every two to three nights. Yes…I said nights. You do not want to water during the day when the water is evaporated practically before the plant has a chance to drink it. Water between sunset and sunrise to give them time to suck up as much H2O as they can before being blasted. It also allows some water to sink into the earth, releasing it slowly as the day progresses.
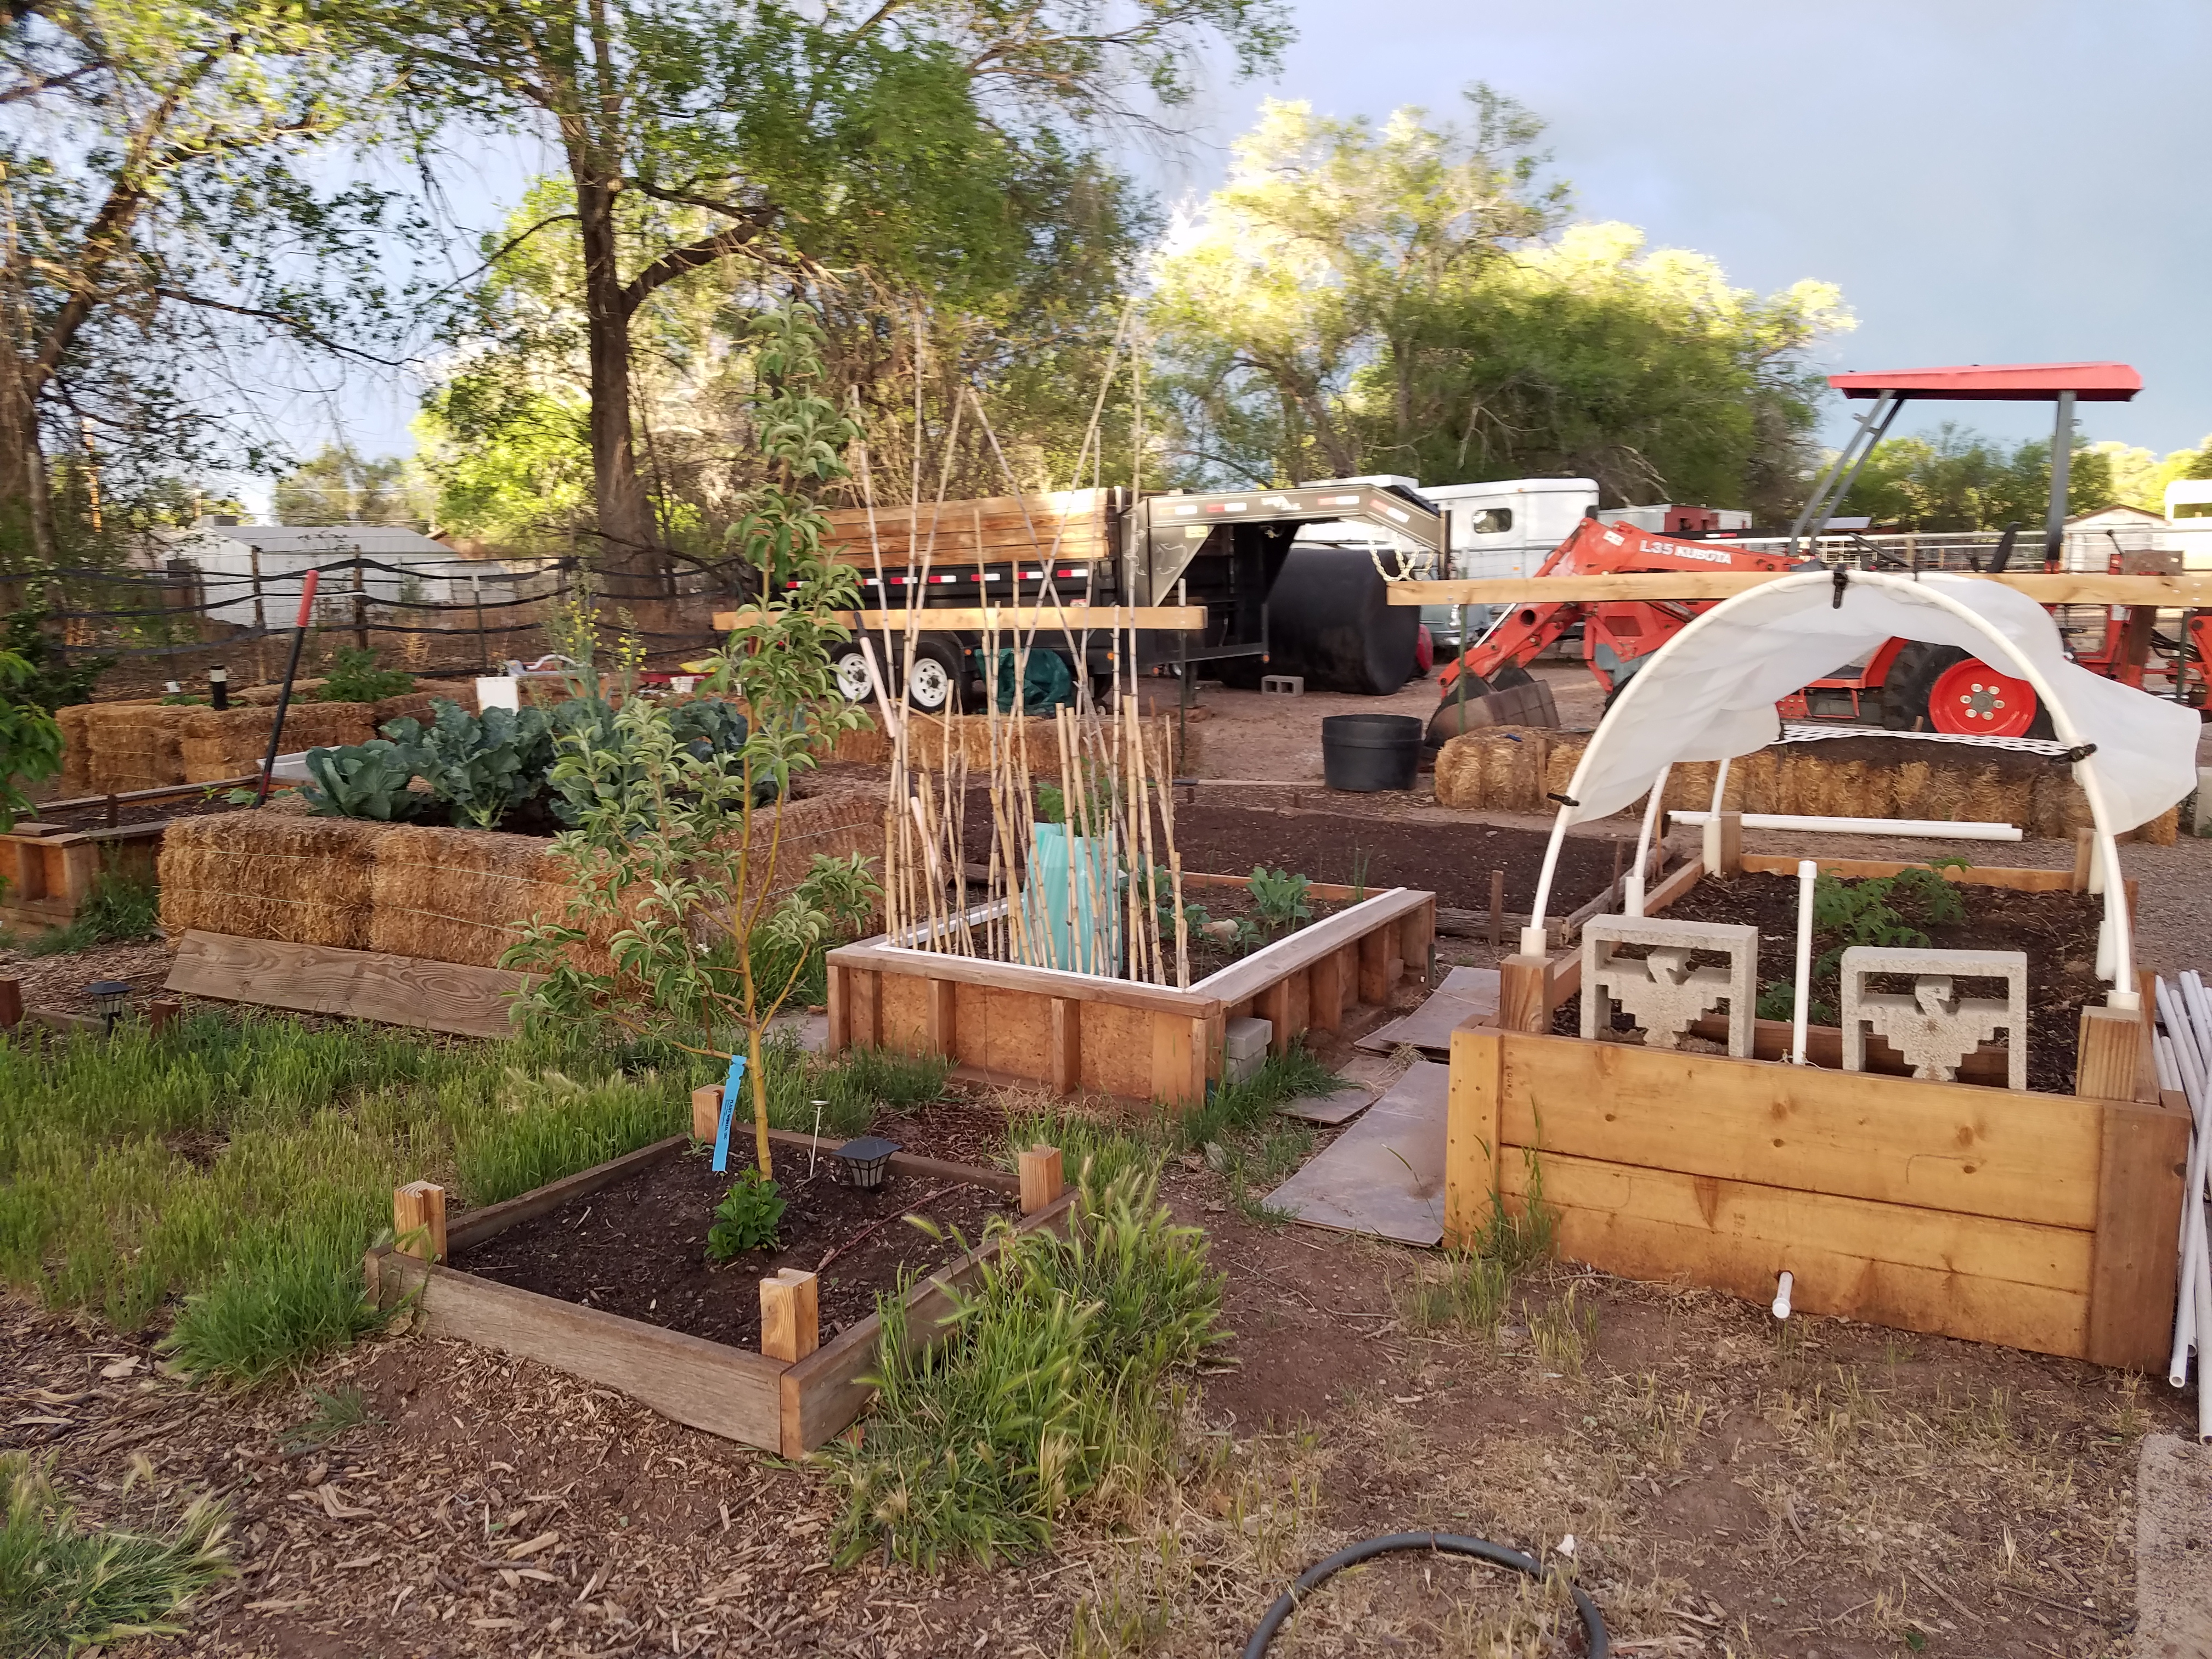
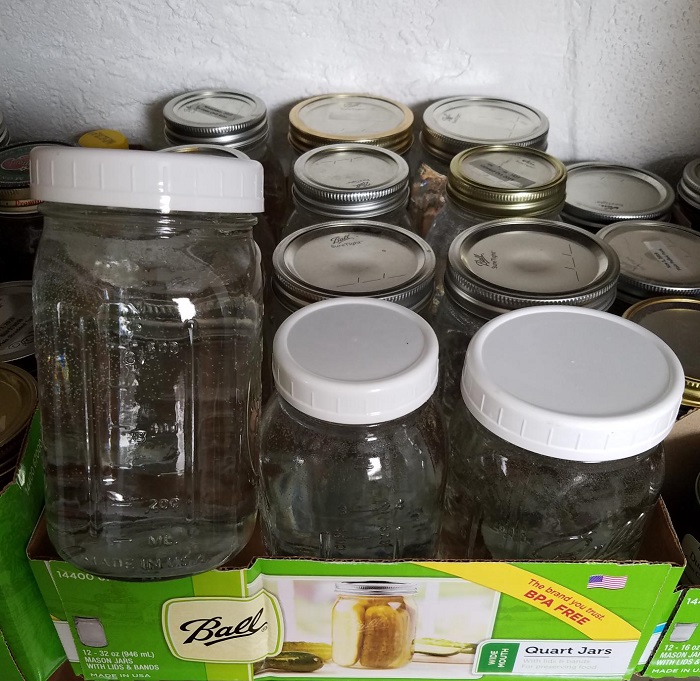 Then the spirit of Grandma Kern reached down from heaven and slapped me upside the head with visions of the shelves full of empty half-gallon and quart canning jars in my pantry! DUH! I got home, pulled them down and washed them out before filling them with tap water and a couple drops of chlorine bleach apiece then lidded and put back on the shelves. (NOTE: always keep jars of water out of direct sunlight). I now have 8 half gallon jars and 30 quarts of drinking water squirreled away in case of need.
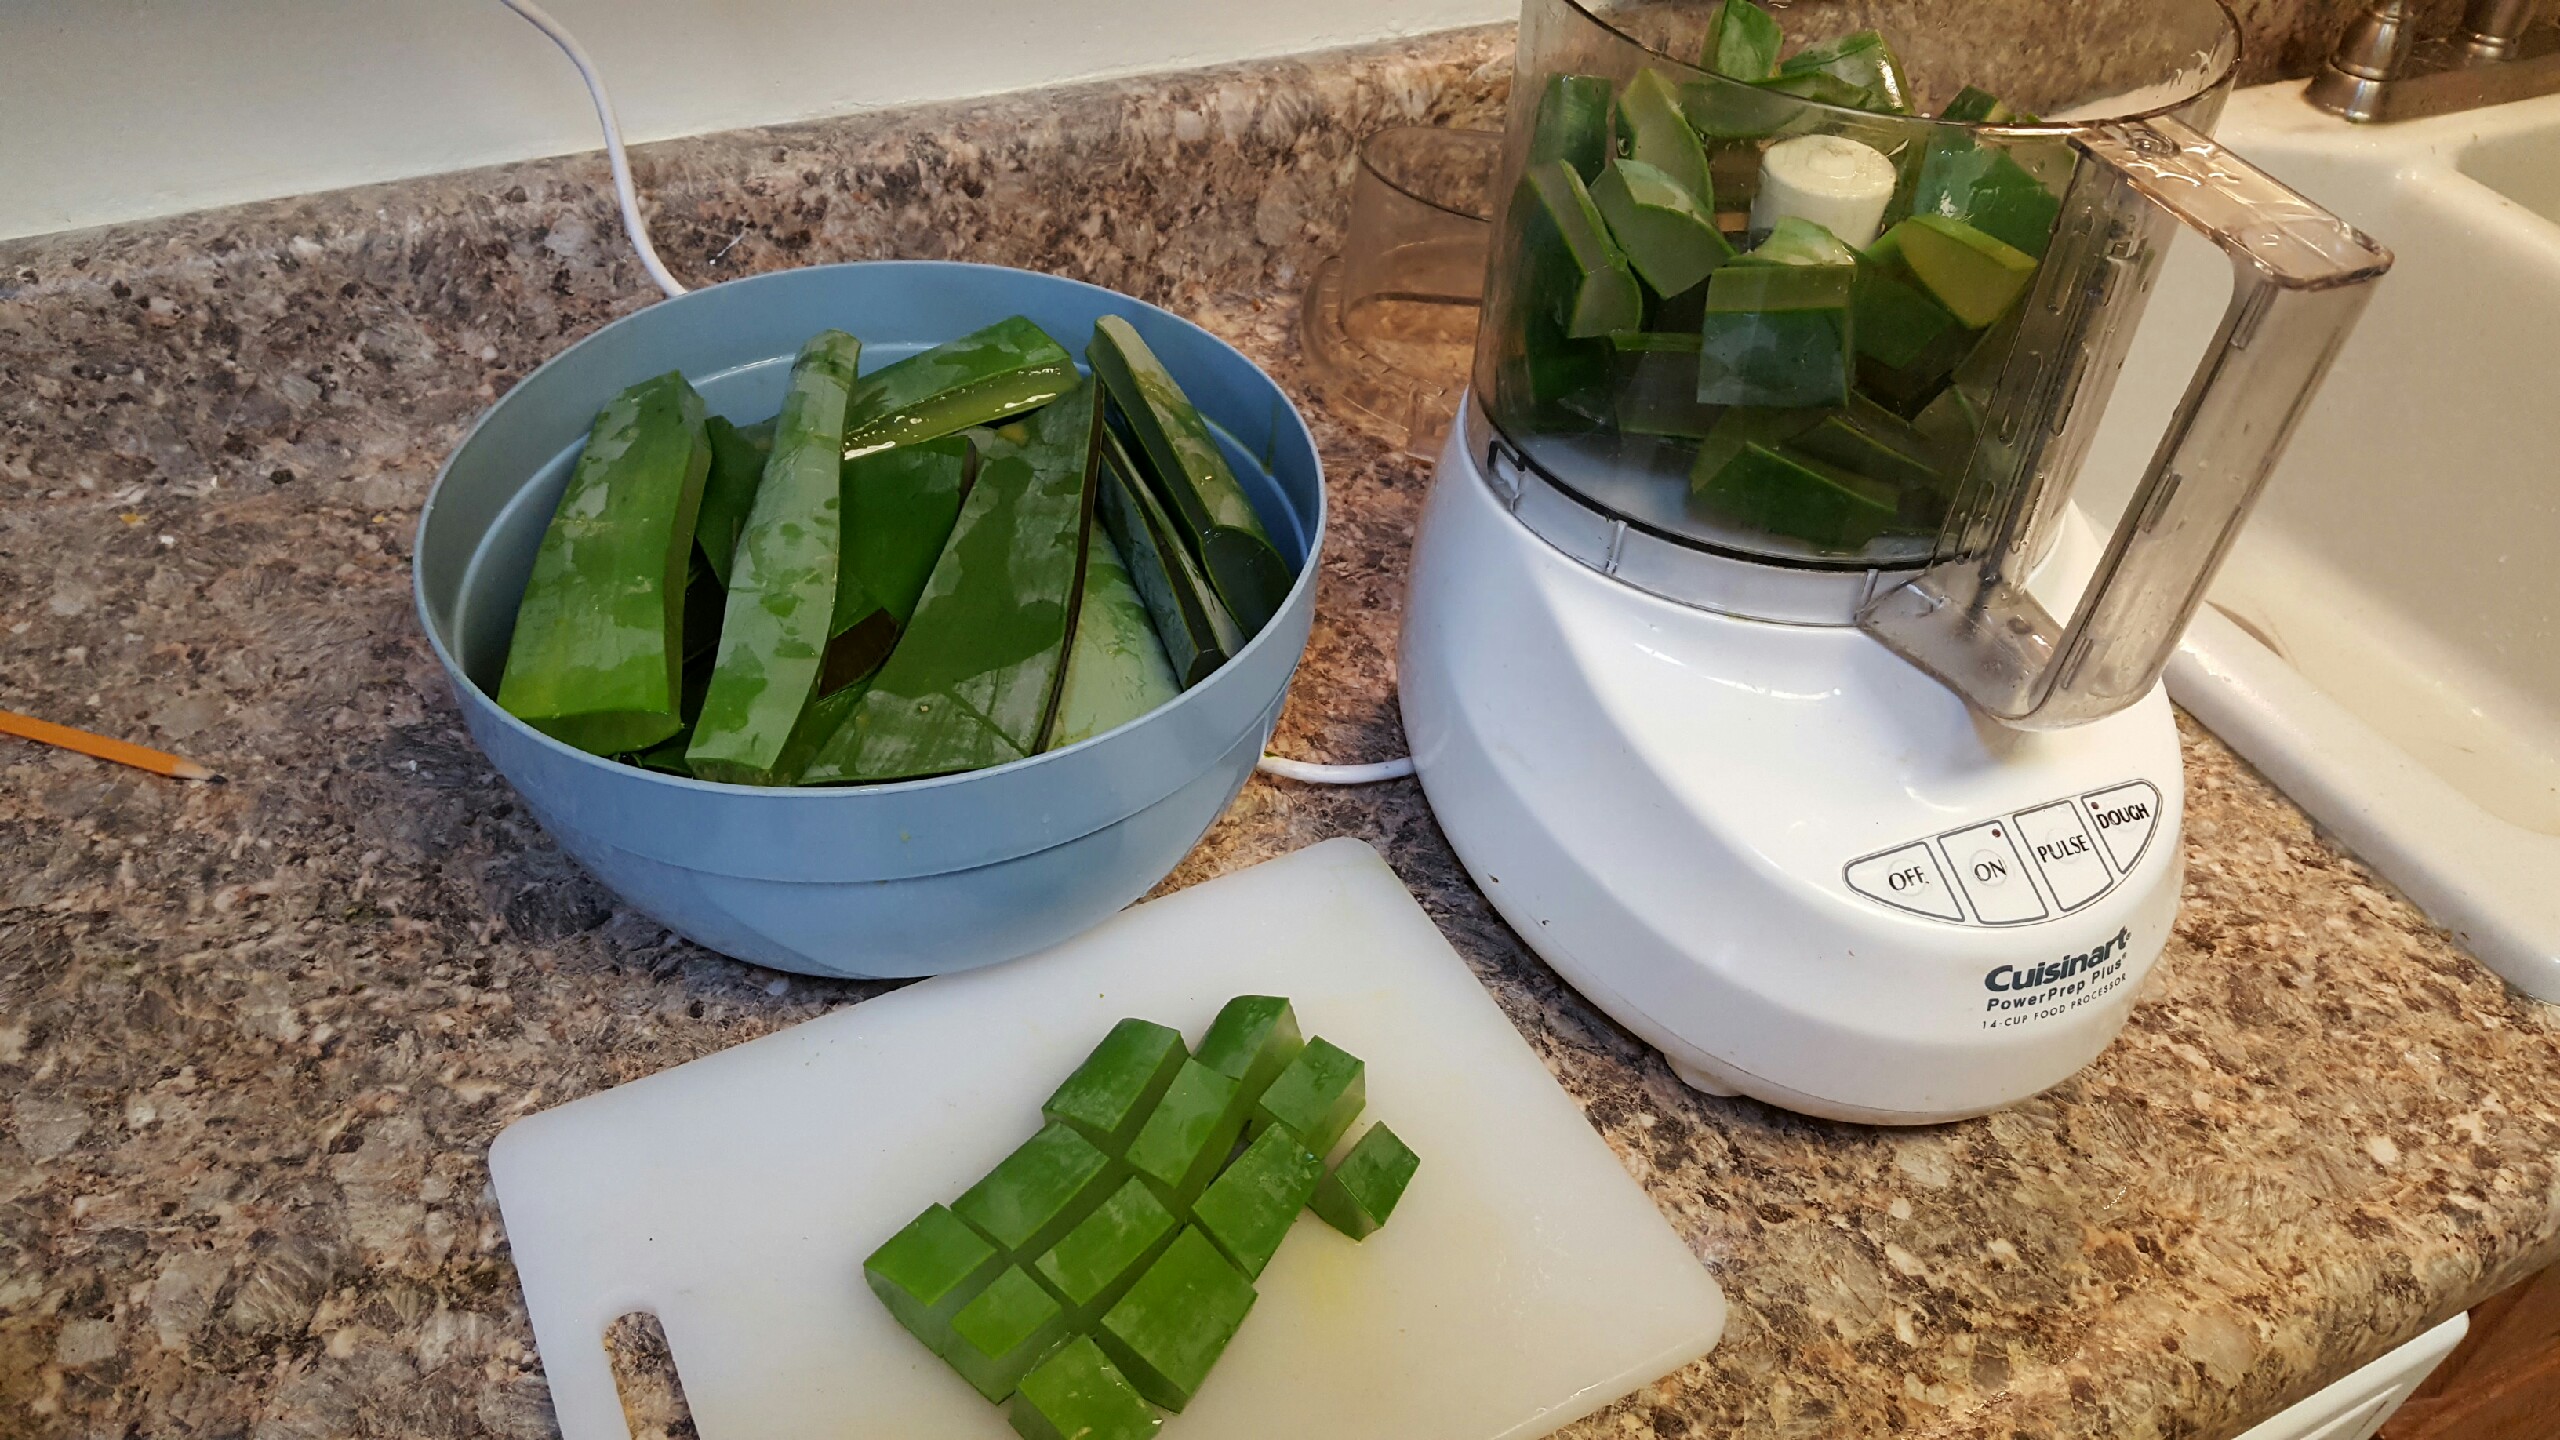 Lastly, hand sanitizer. You can make some that is just as easy on the skin as the commercial stuff. Mix 2 parts rubbing alcohol to 1 part aloe gel. Aloe gel is in the stores, or if you have a monster aloe plant in the house it is fairly easy to strip the gel out.
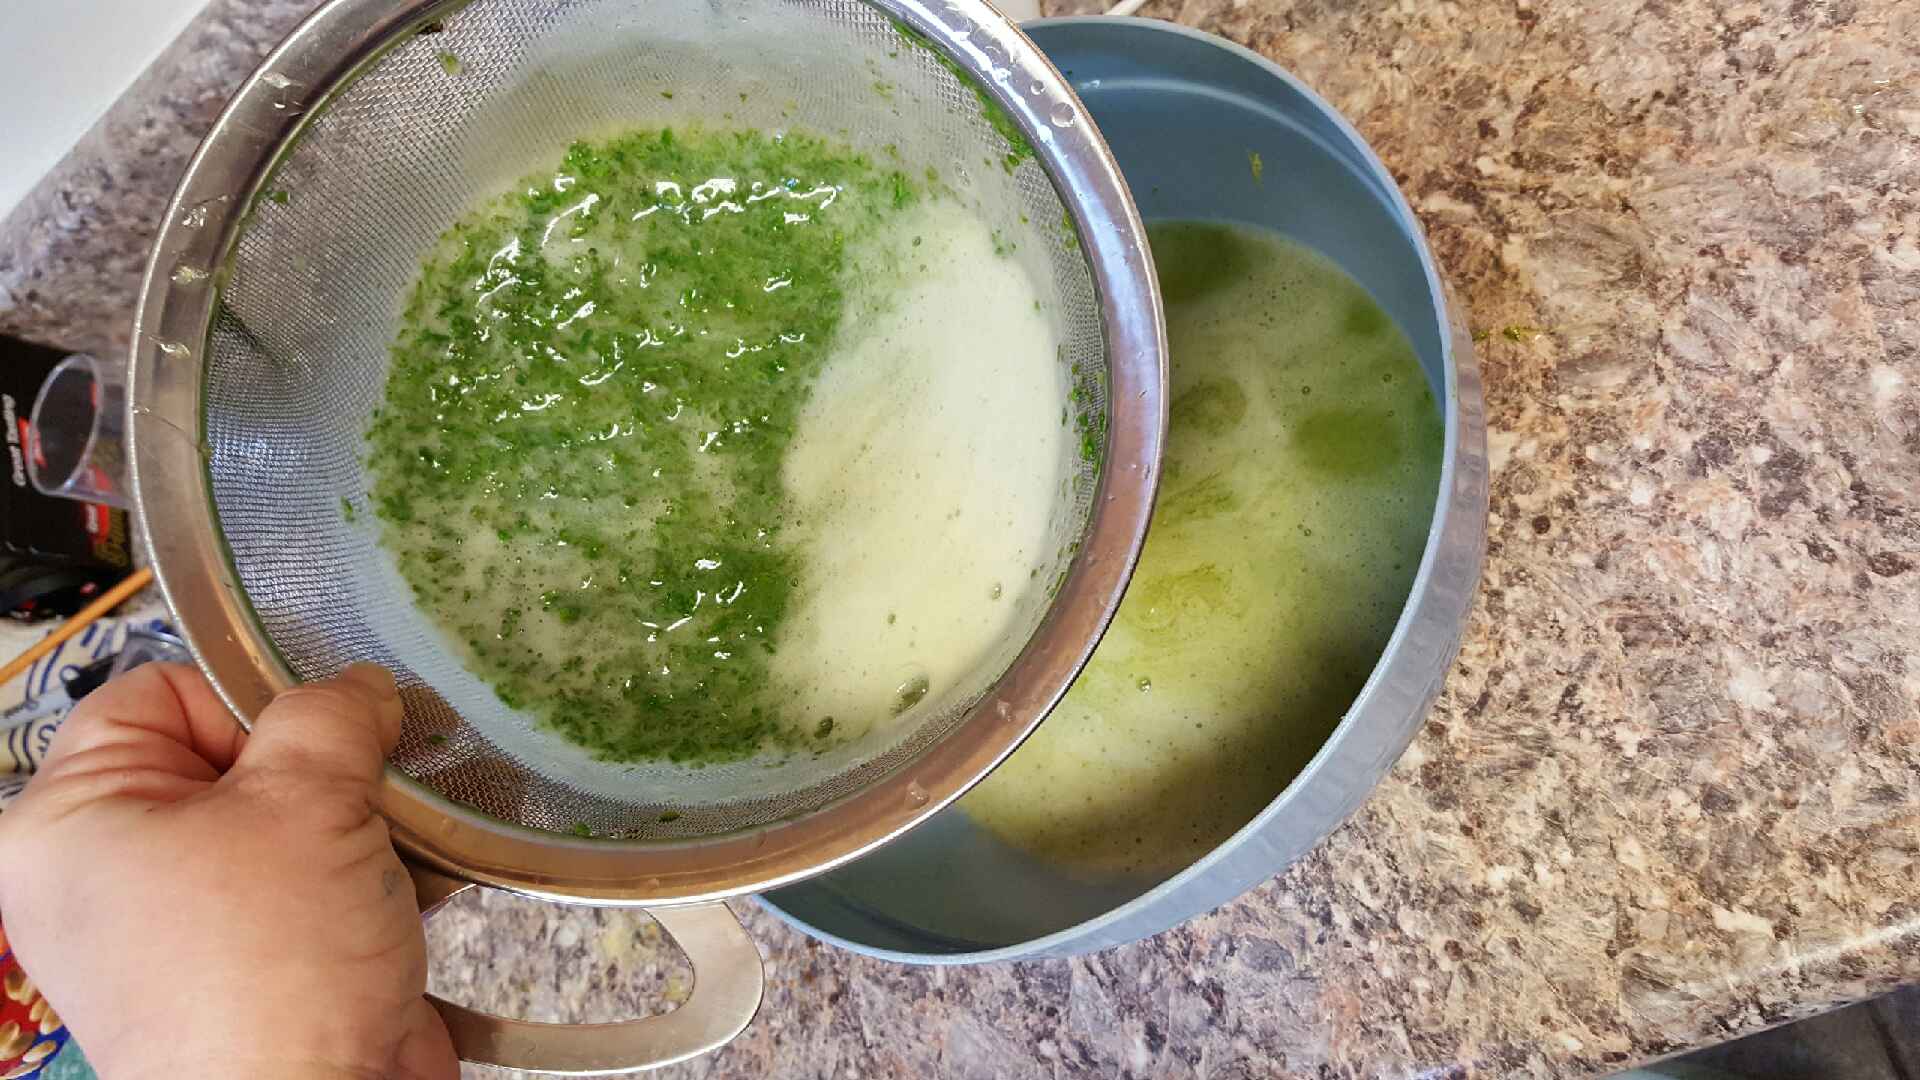 NOTE: It can have a few floaty plant parts in it – that doesn’t hurt anything – just proves it did not come from a factory.
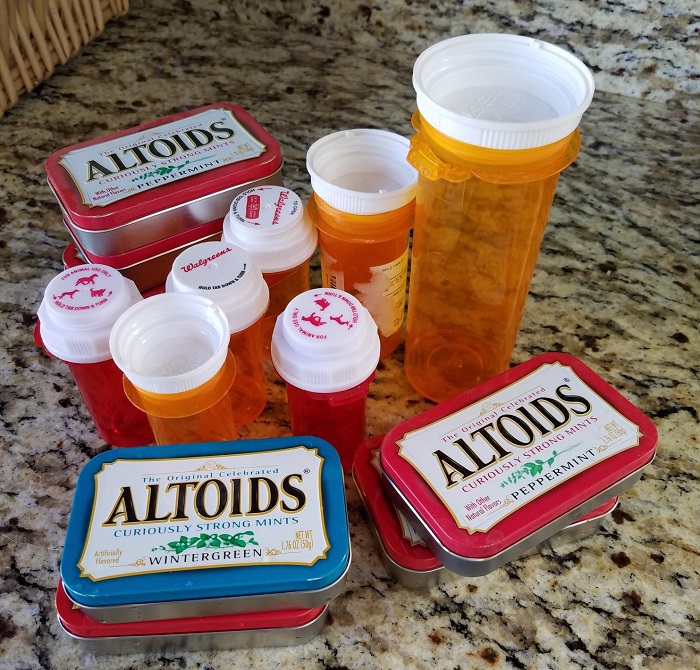 Two things I’ve always collected and found uses for are pill bottles and altoids tins. I wish I could just clean out the pill bottles and give them back to the pharmacist, but they won’t take them. That would simply make too much sense! However, they are perfect for storing so many little things especially as they come in many sizes.
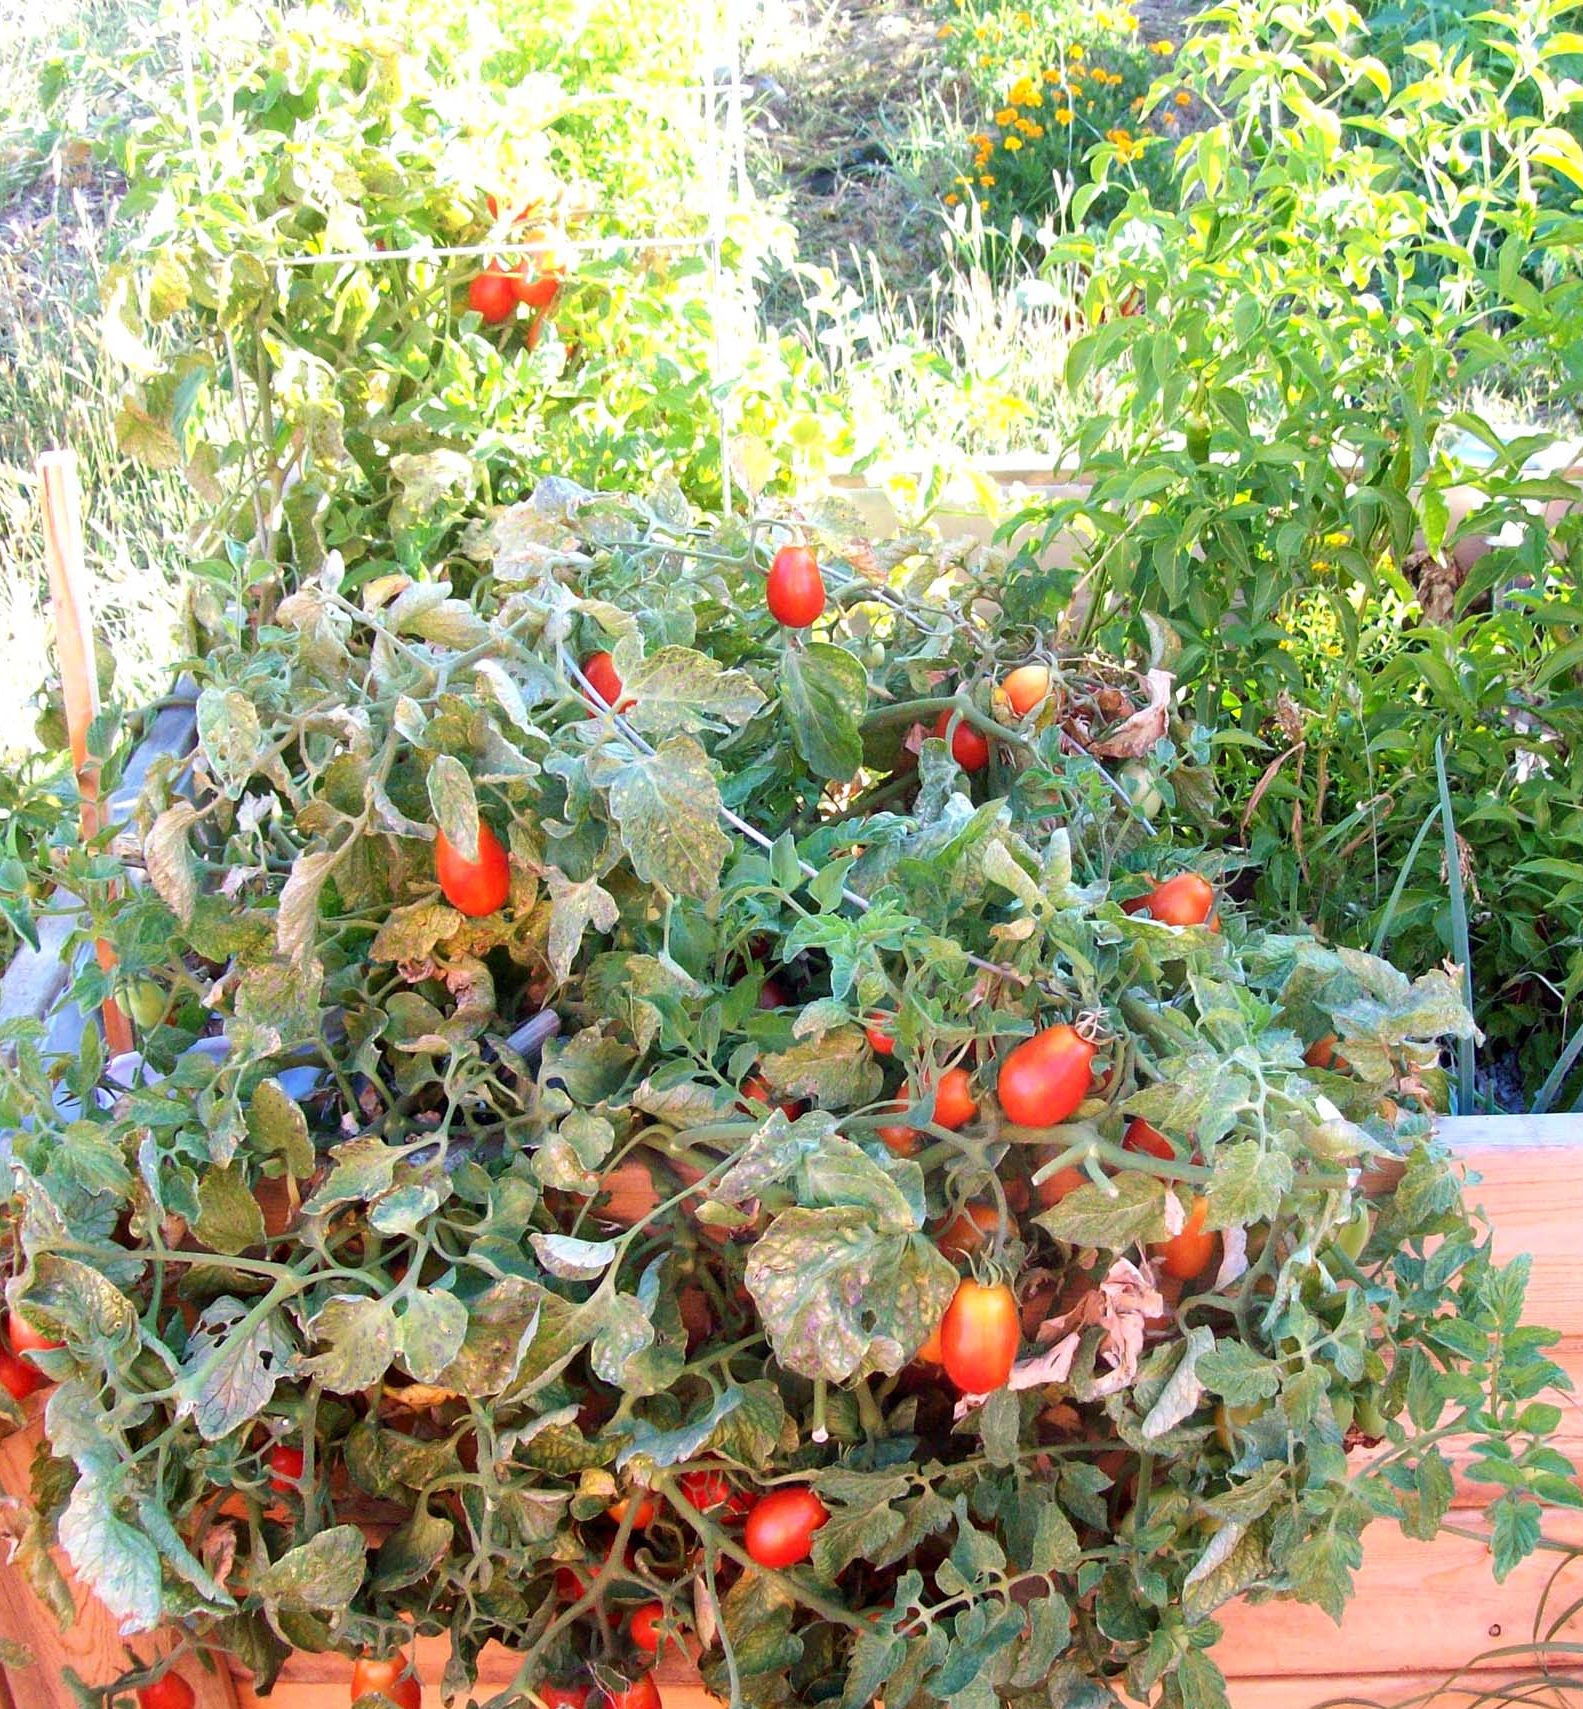 Tomatoes are one of my favorite items to preserve – they are so versatile! Salsas, soups, sauces – YUM! The first luscious red fruits are sparse, but over time they pick up the pace. I plant just a few of the large beefsteak type tomatoes, a couple cherry tomatoes and 7 or 8 thicker paste tomatoes. Though the beefsteak and cherries are primarily for eating fresh, an overabundance of either can be added to the paste tomatoes when canning.
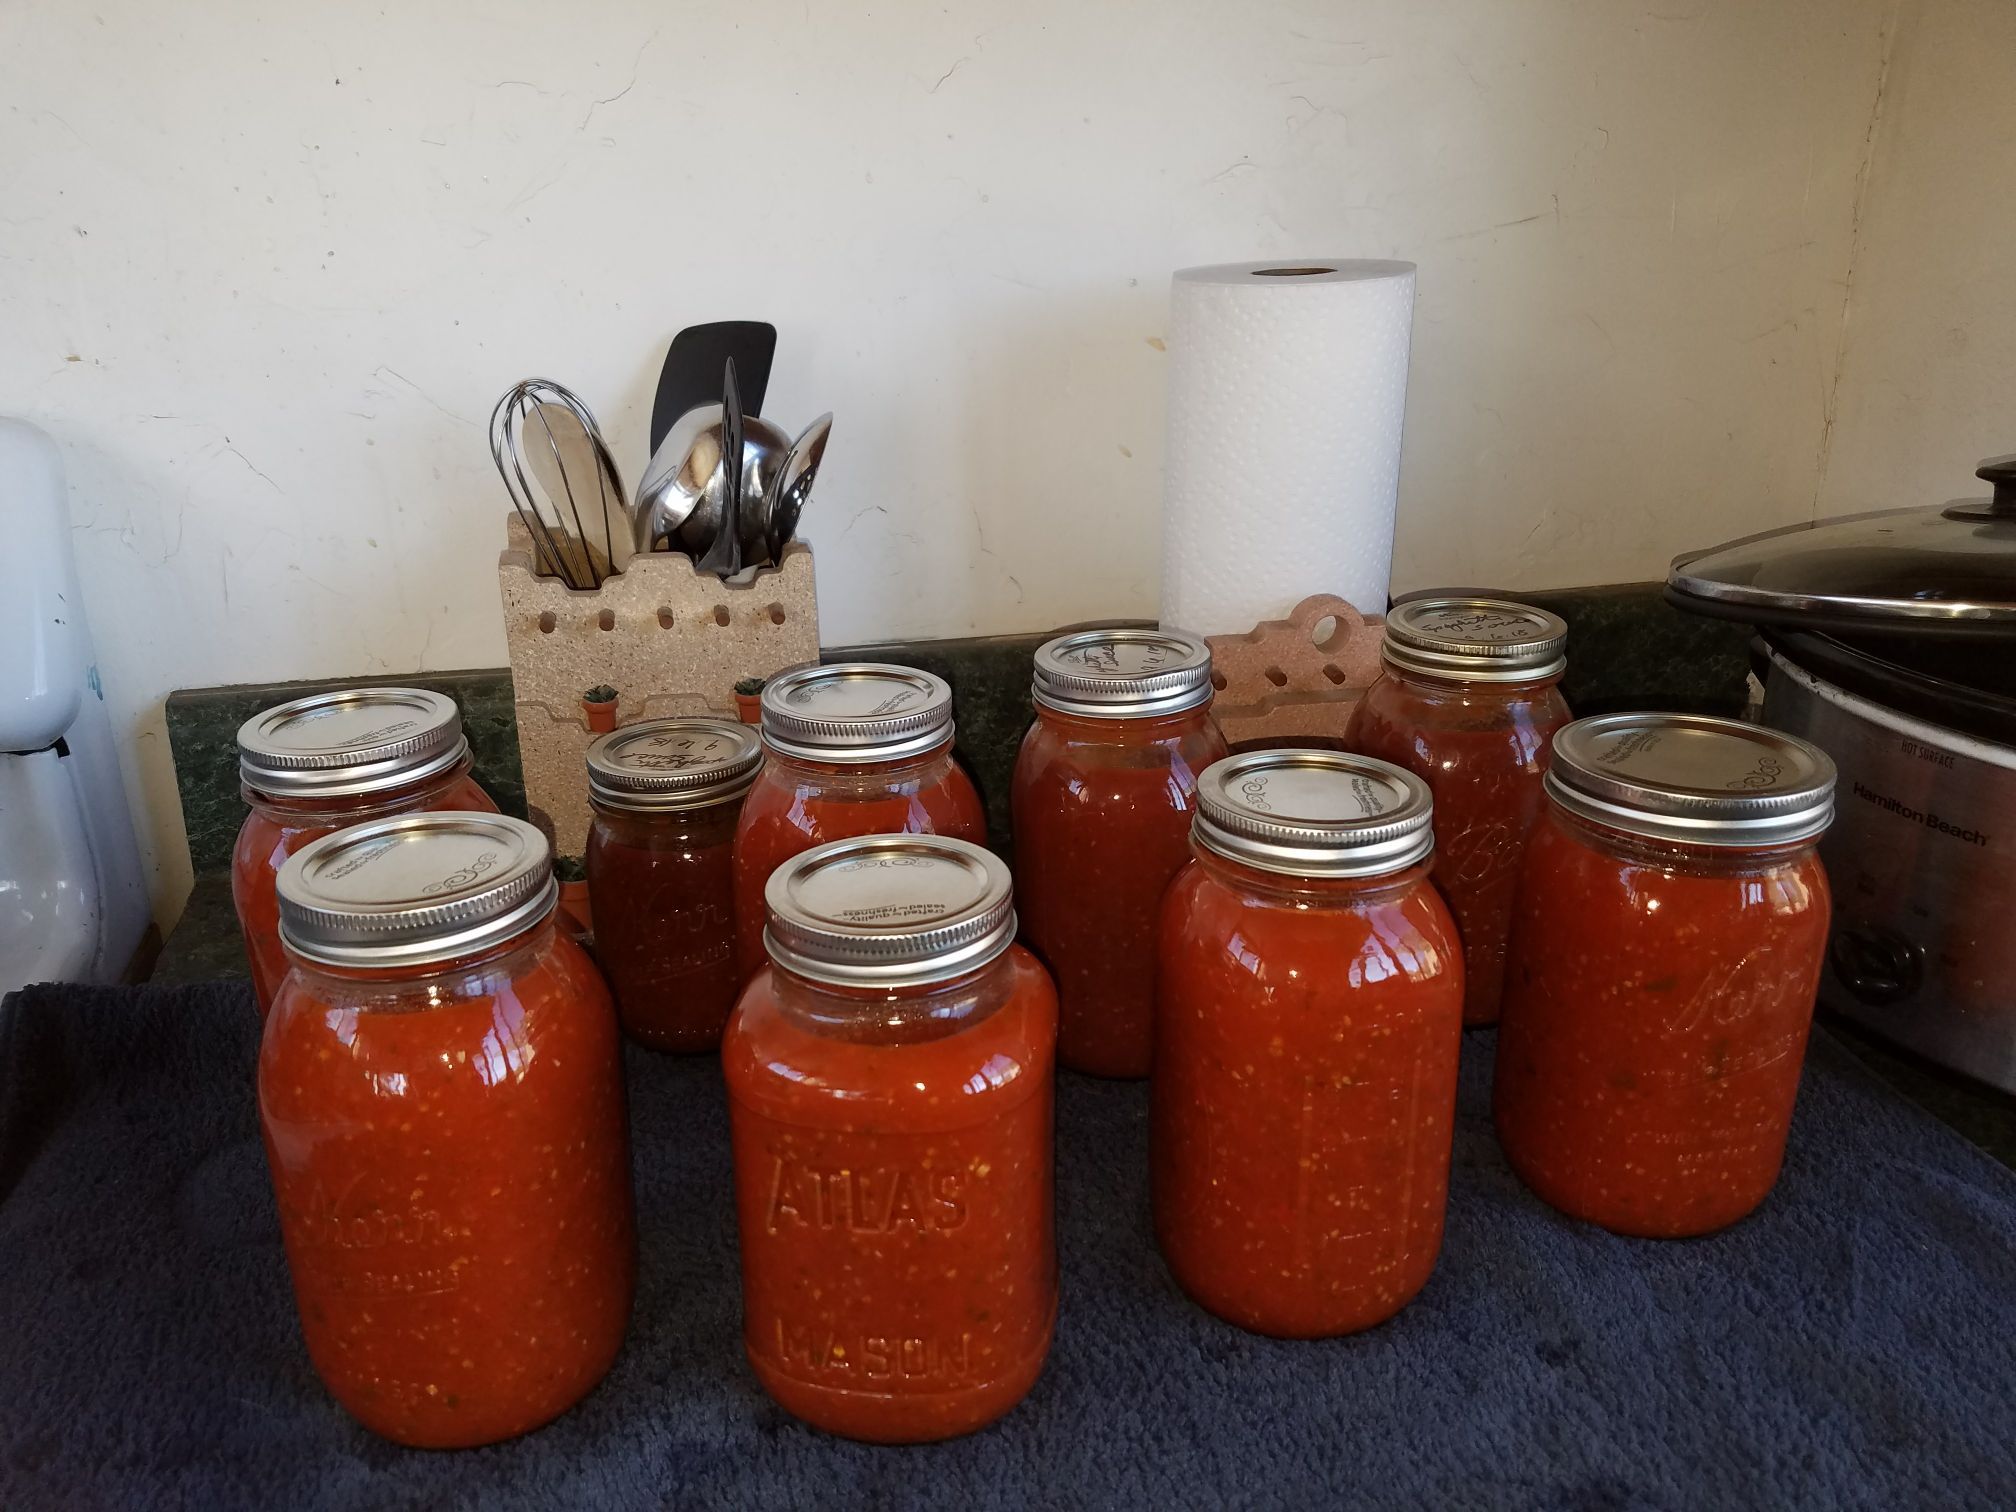
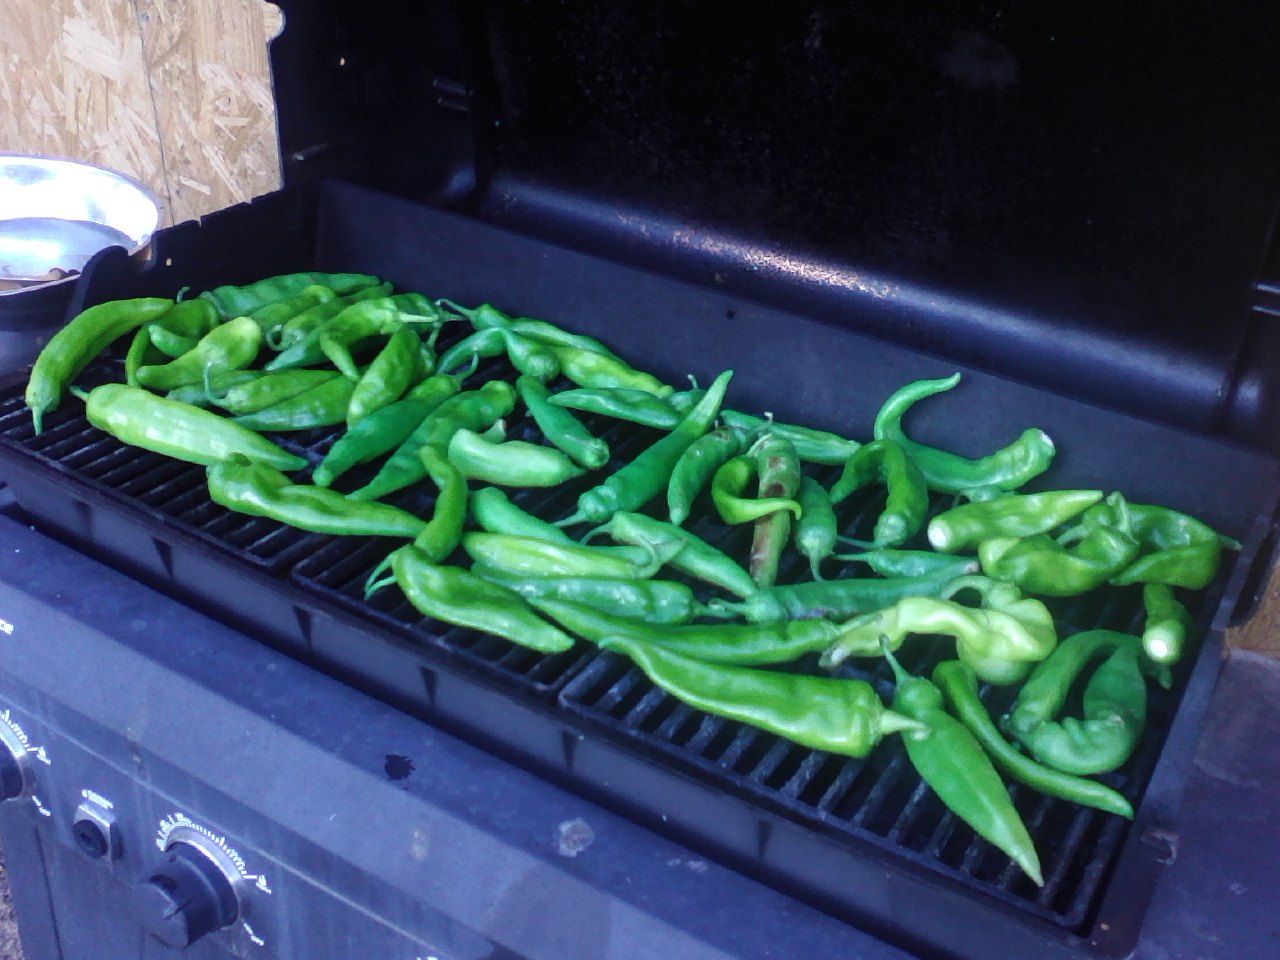 Another vegetable than you can partially process then freeze for future use are green chili peppers. Chilis are normally roasted and skinned before being cooked or canned. If you have a couple hours you can pick the ones you feel are large enough and roast them on your BBQ grill. You want them to puff up and the skins to brown and crack a bit – but don’t blacken them entirely!
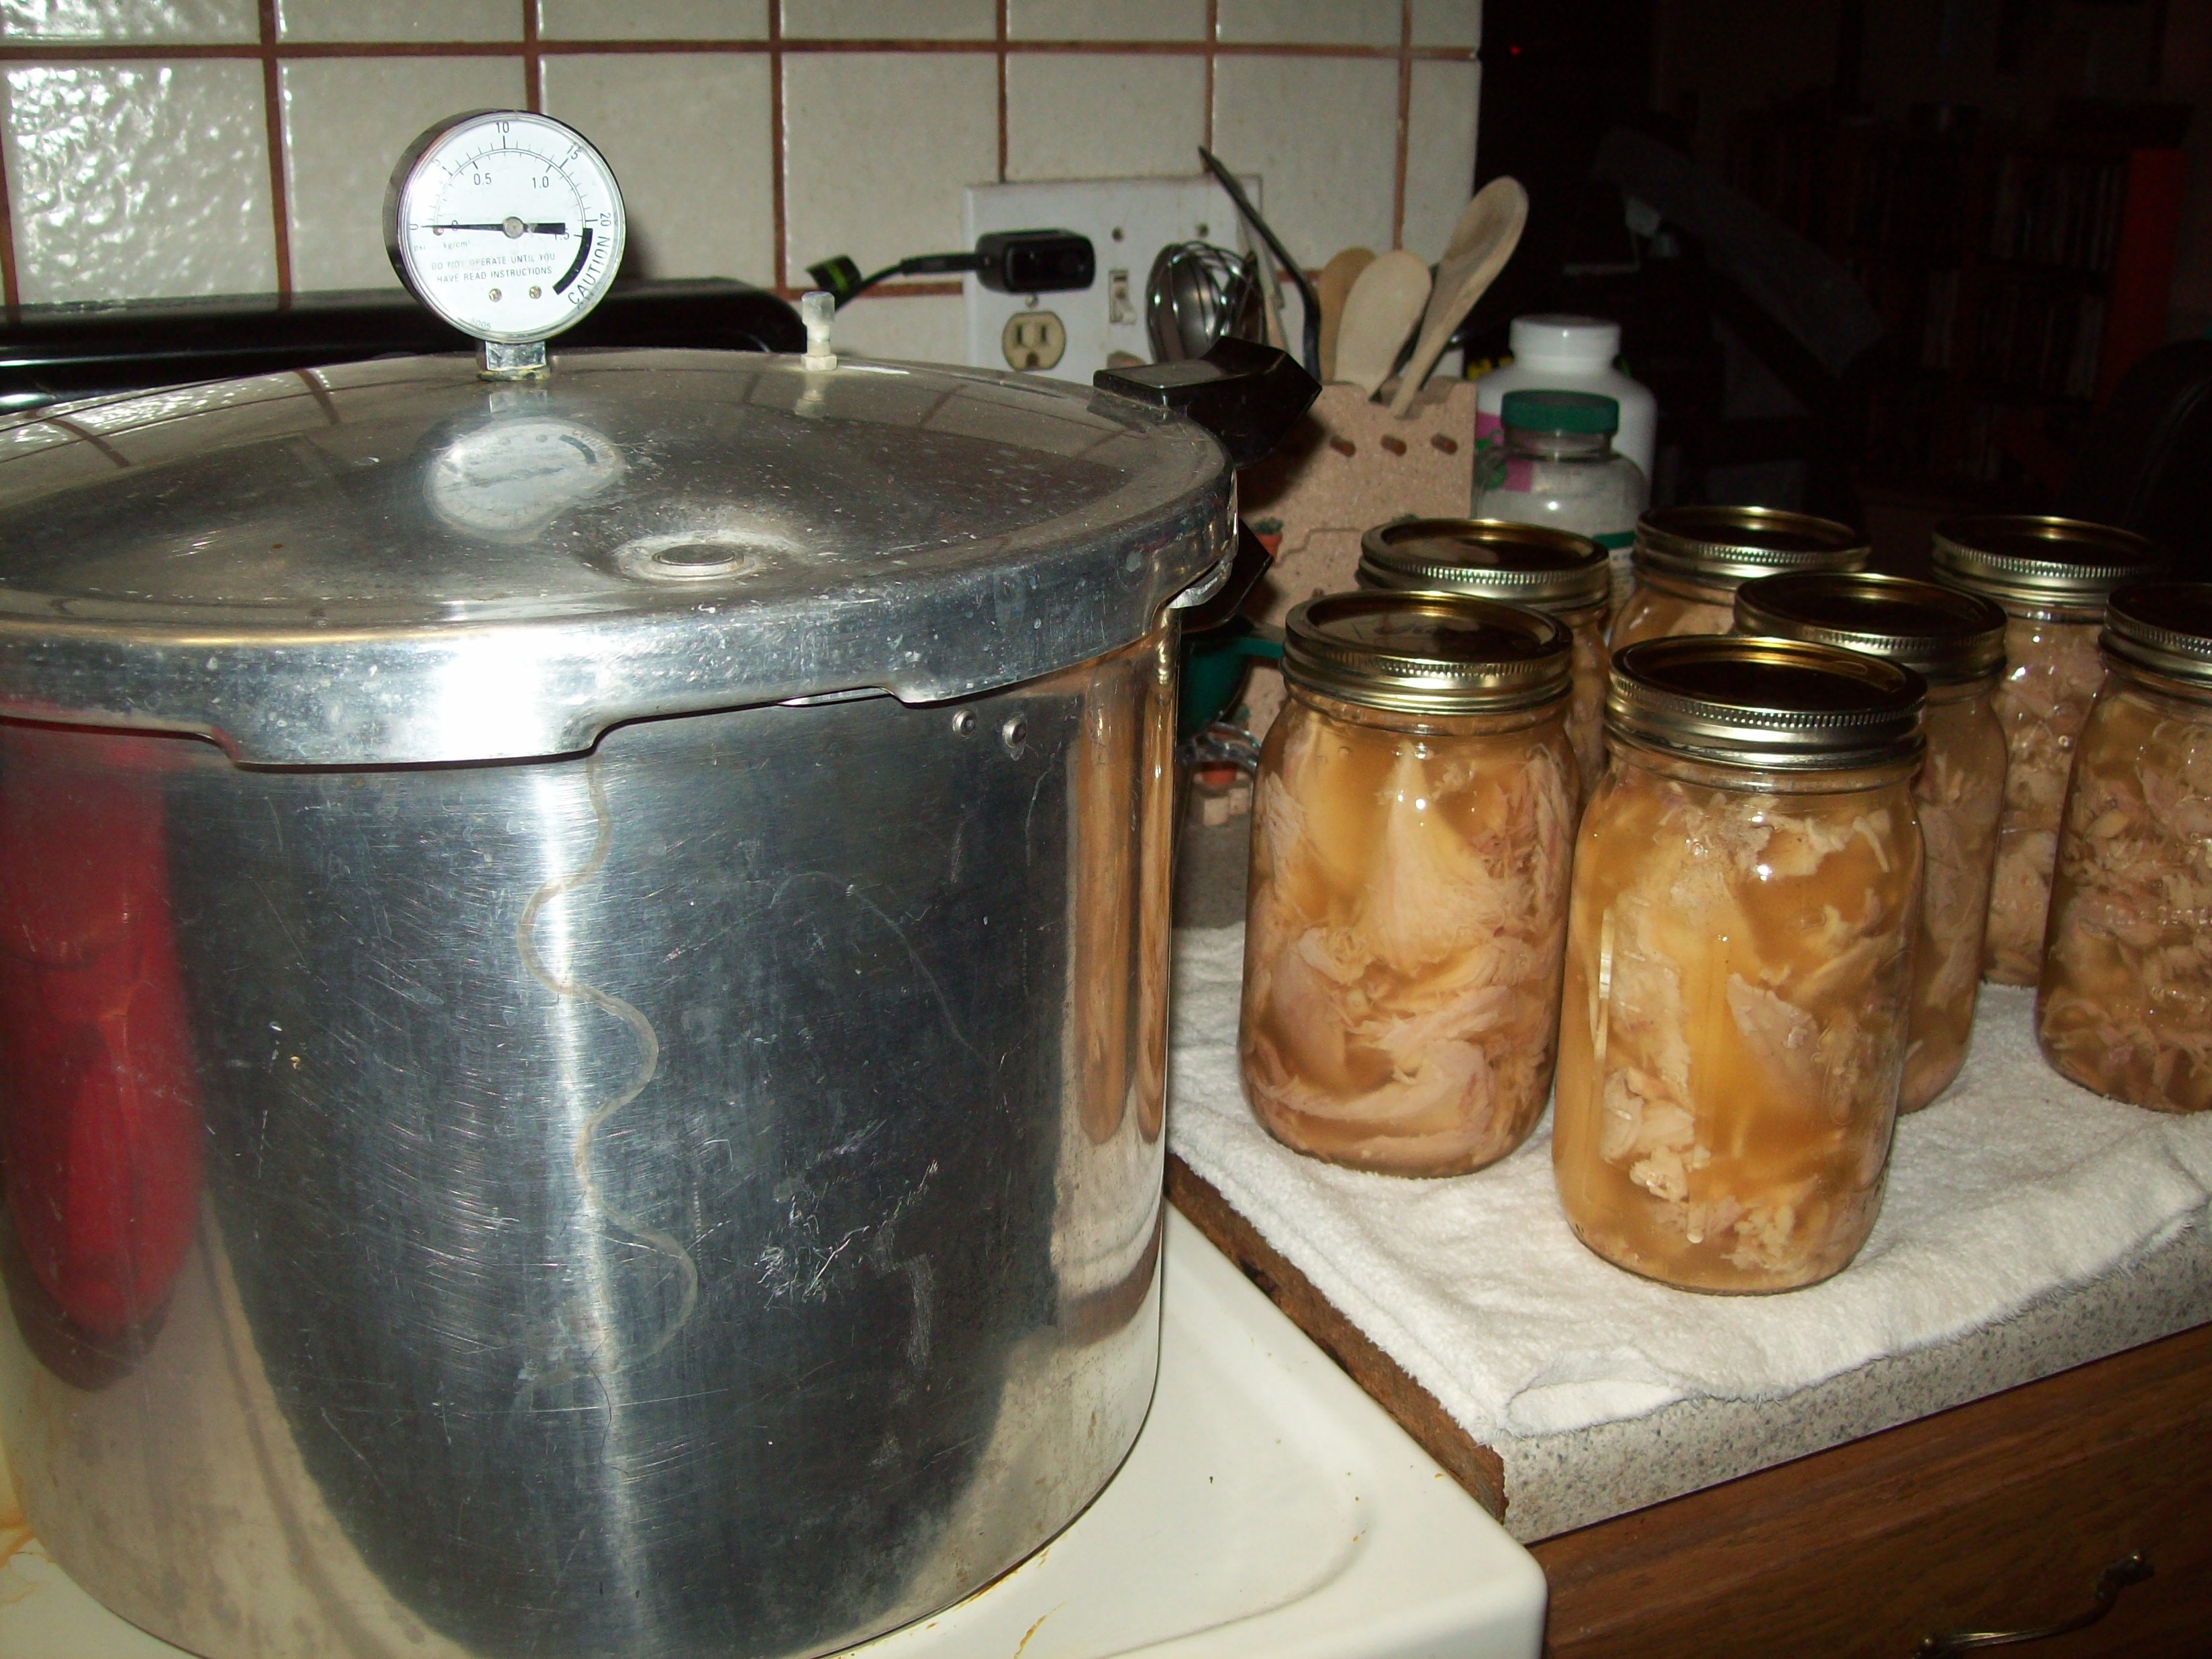 Out came the pressure canner and the roasting pans. One turkey was placed in the sink to thaw fast in cool water. The rest were kept in the freezer to stay as cold as possible. As each went into the oven, another was tossed in the sink.
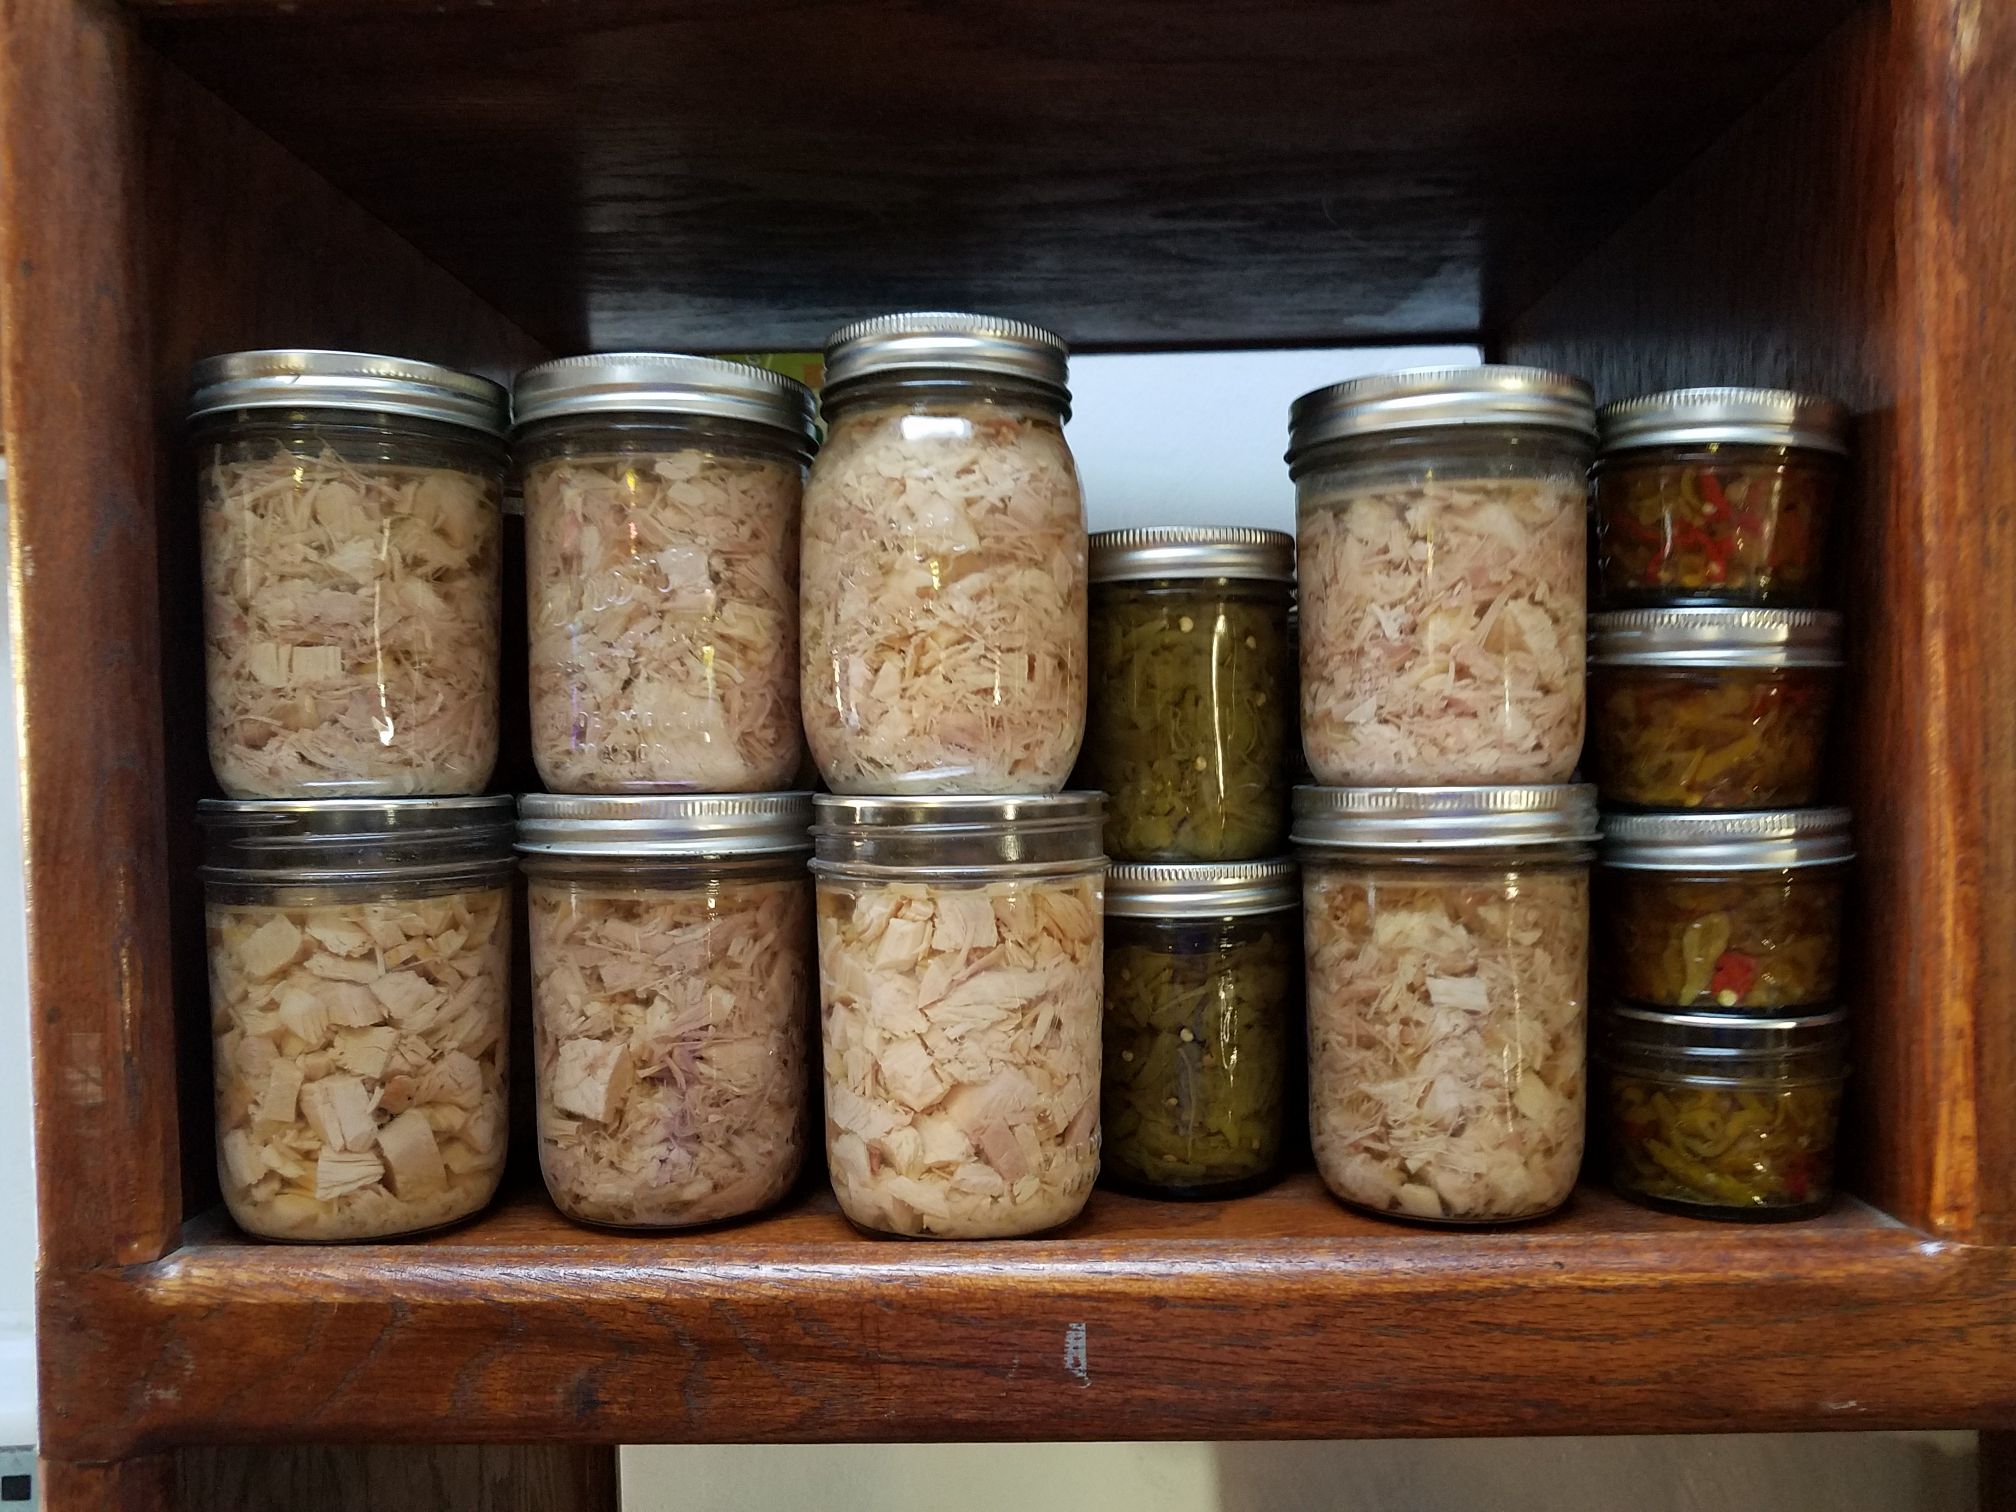 Obviously it took all day and part of the night to finish all six turkeys, and towards the end we decided that the last turkey should be the basis of some good turkey soup. We added peas, carrots, spices, onion and potatoes to the last set of jars in the canning kettle.
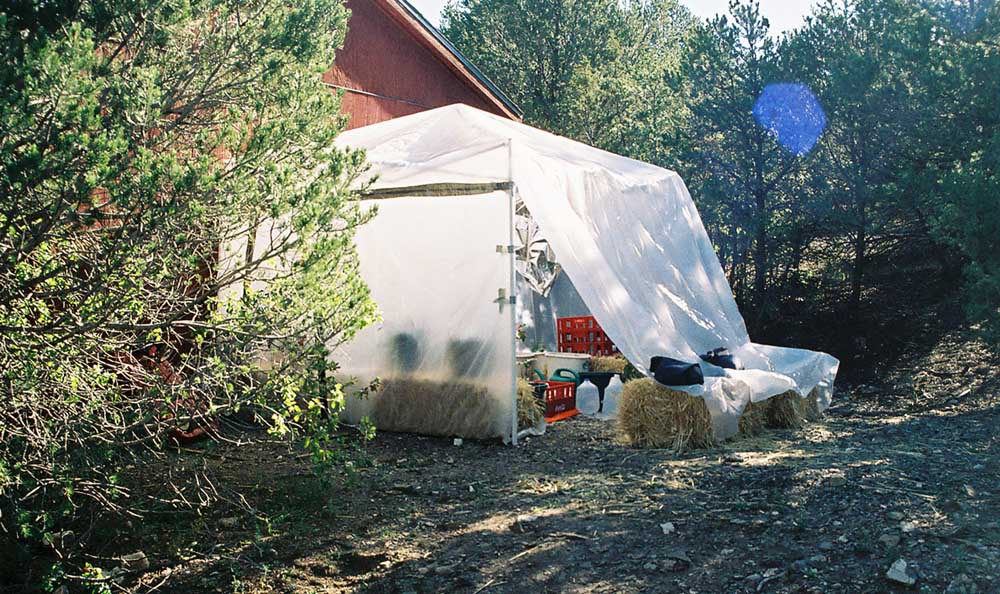 The airport at Albuquerque, New Mexico sits at 5,355 feet above sea level – over a mile. Areas of the city are as low as where I live in the Rio Grande valley at 4,980 feet, to the foothills out east at 6,000 feet. The top of the mountain on the east side is 10,678 feet. The first challenge to new residents is the reduced amount of oxygen here, the second is the thinner blanket of air between us and the sun.
 Most high desert residents deliberately create drought tolerant landscaping around their homes, but some of us like to be able to grow our own vegetables. With all these extremes in temperature and moisture, the best chance for success you can give your plants is to create microclimates which help to even out the growing environment.
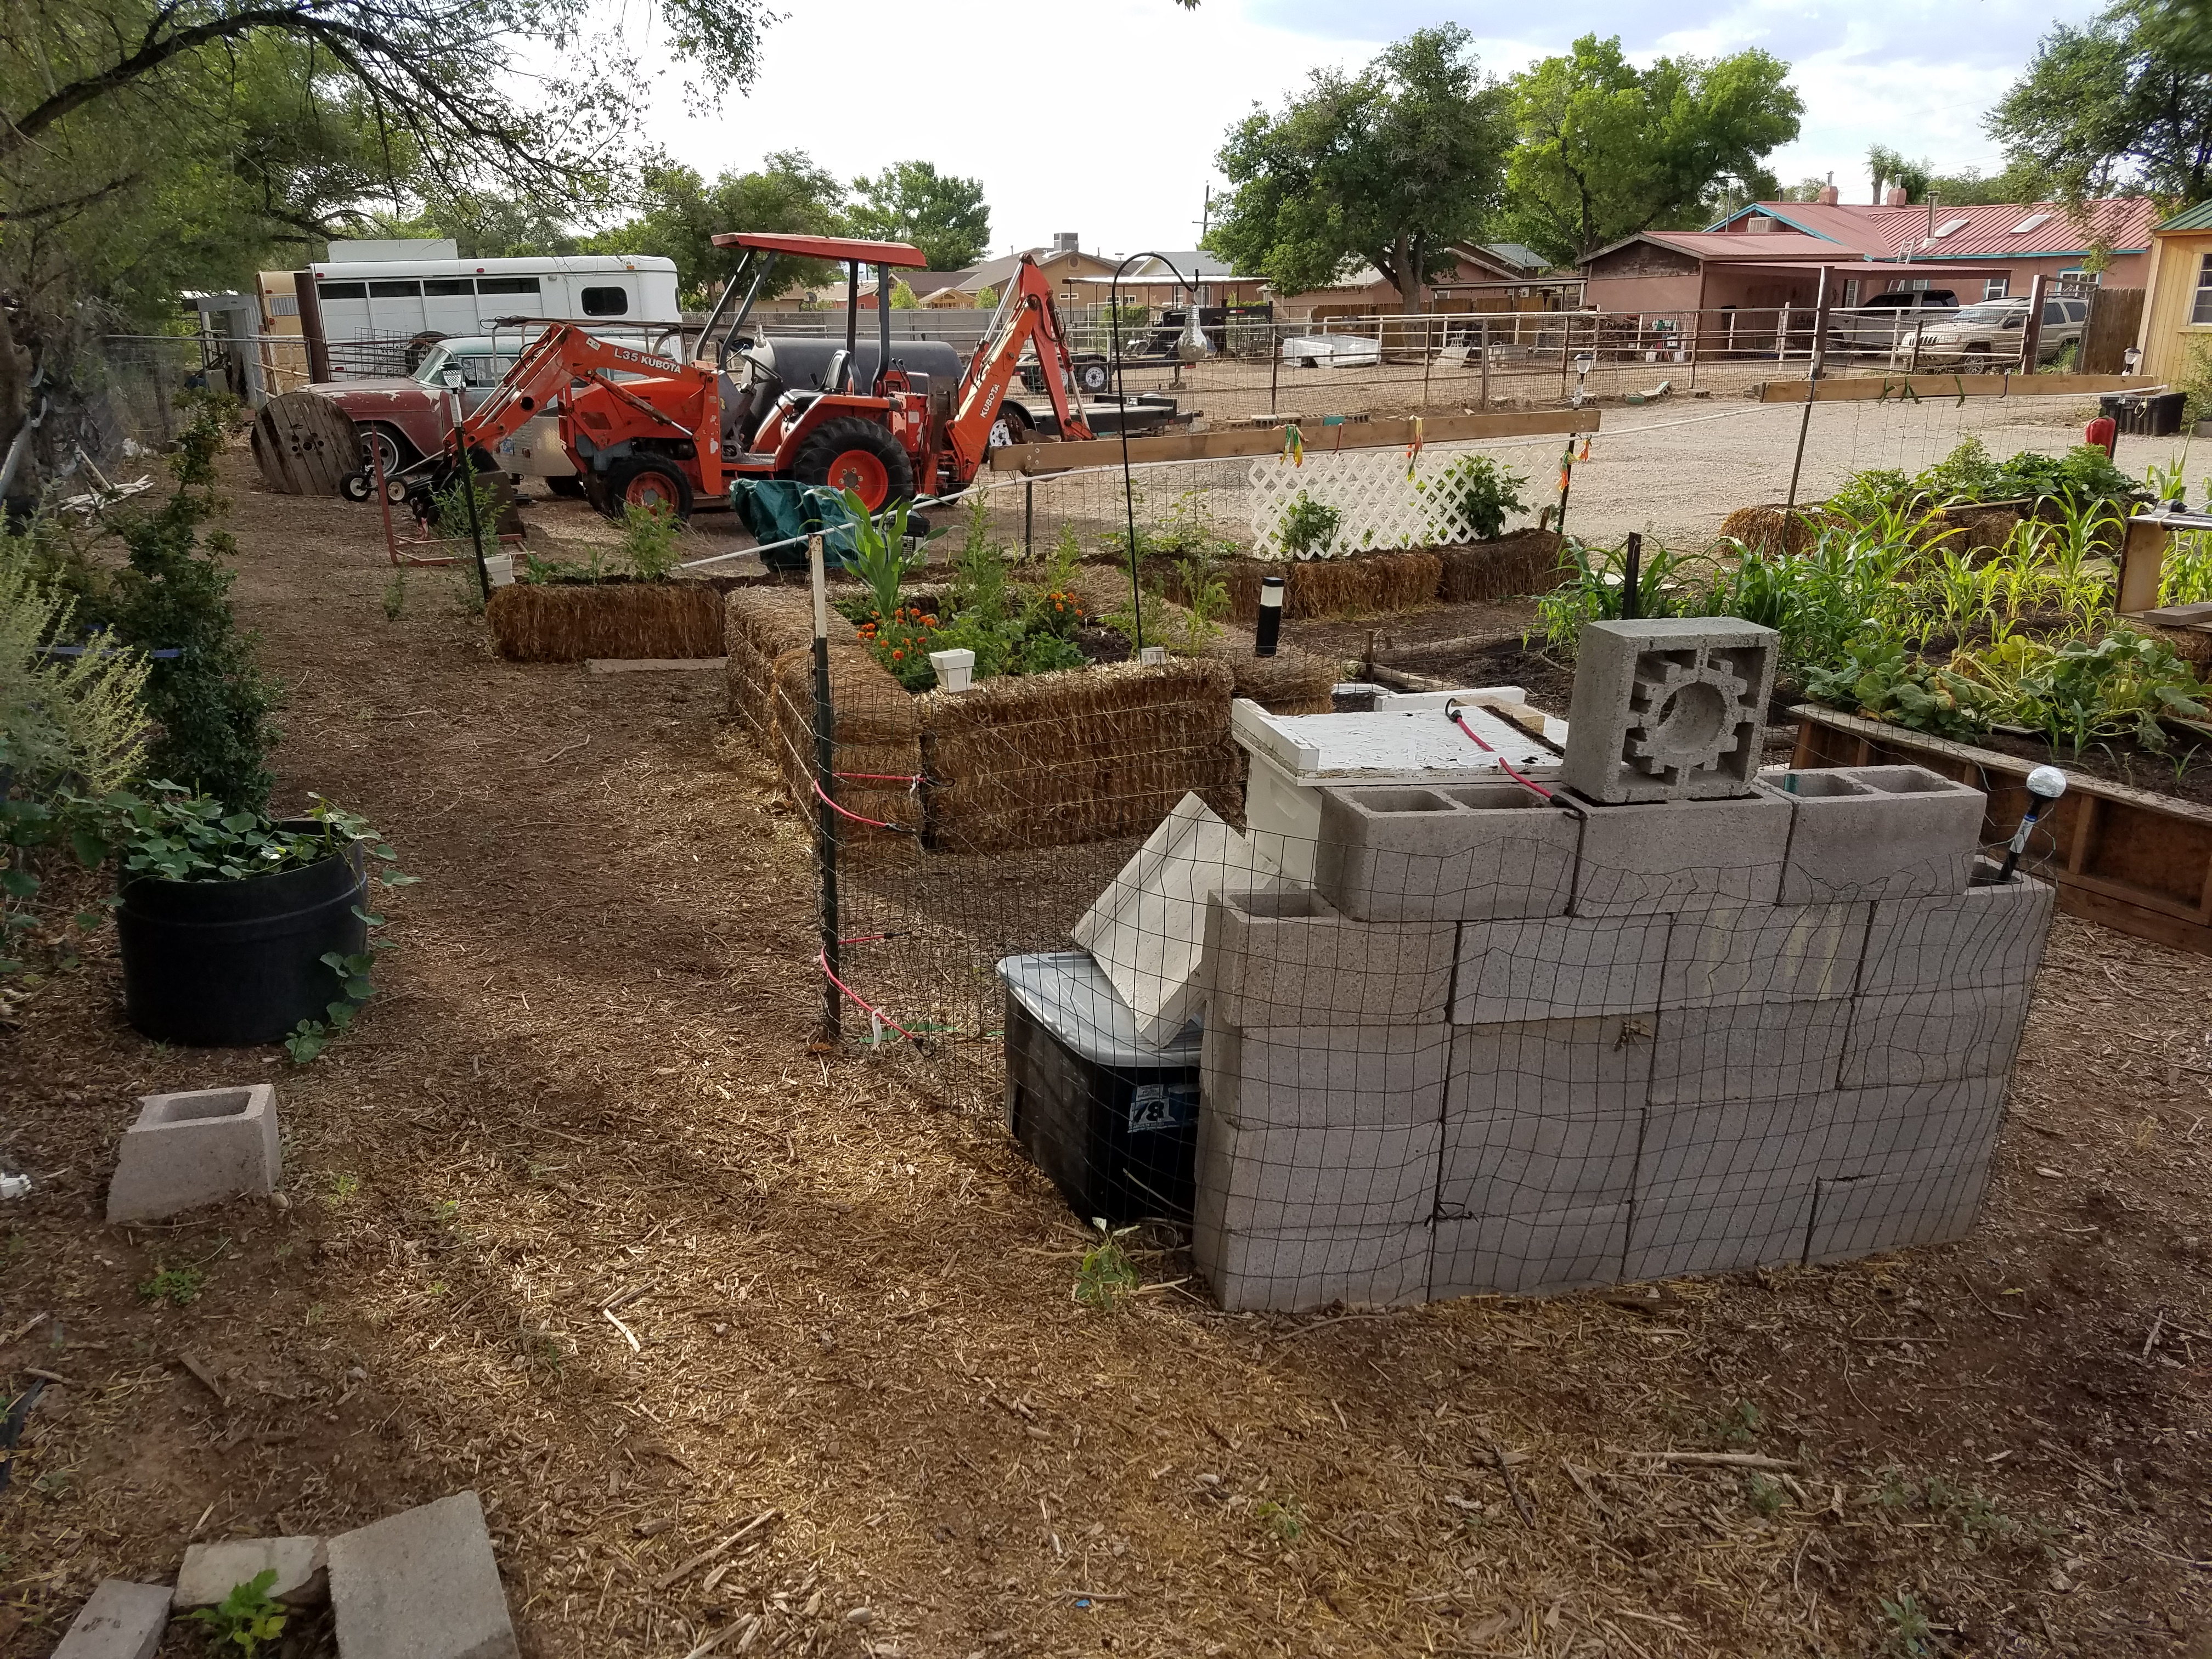 Creating a microclimatic environment can also help plants get started early in the spring. I used six straw bales set up like a box, then filled the box about 2 feet deep with dirt and compost. I’d started broccoli and cabbage from seed in February and by april they were almost 10 inches tall. I put them into strawbale raised bed and was eating broccoli in June. The cabbage took a little longer. The nice part is that when it threatens to go below freezing for a long period of time you can throw a blanket on top. This should work during the winter for any of the brassicas and many root crops. After harvesting the broccoli I added another 6 inches of dirt then planted blue lake bush green beans.